Showing posts with label Accentuate the Positive. Show all posts

Monday

The Blossom Challenge: Glassy-Eyed!


Welcome to our second The Blossom Challenge from Power Poppy!  We had such a great time perusing your beautiful challenge entries from last month’s The Blossom Challenge of April Showers Bring May Flowers.  Last month’s winner will be at the end of the post!  

I’m your host Christine and this month we’ve got a fun theme called Glassy-Eyed!  We invite you to use an image that is in glass or under glass on your design.  So dig into your Copics, Pencils or watercolour, and any Power Poppy image with glass.  You could even be totally artsy and use a Power Poppy image and draw your own glass vase, snowglobe or cloche!  
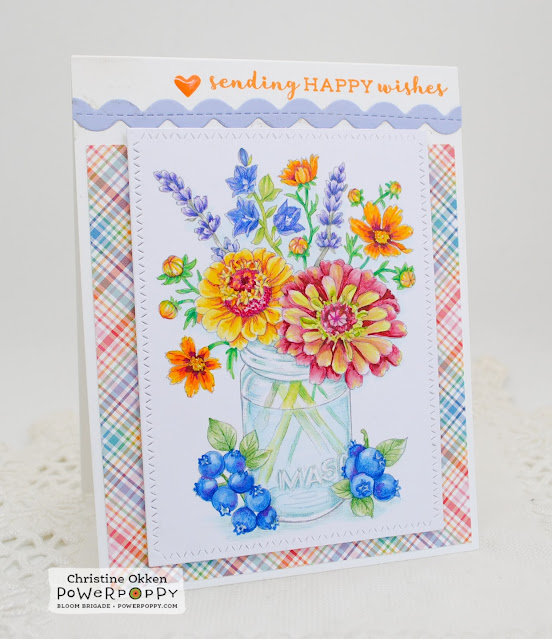

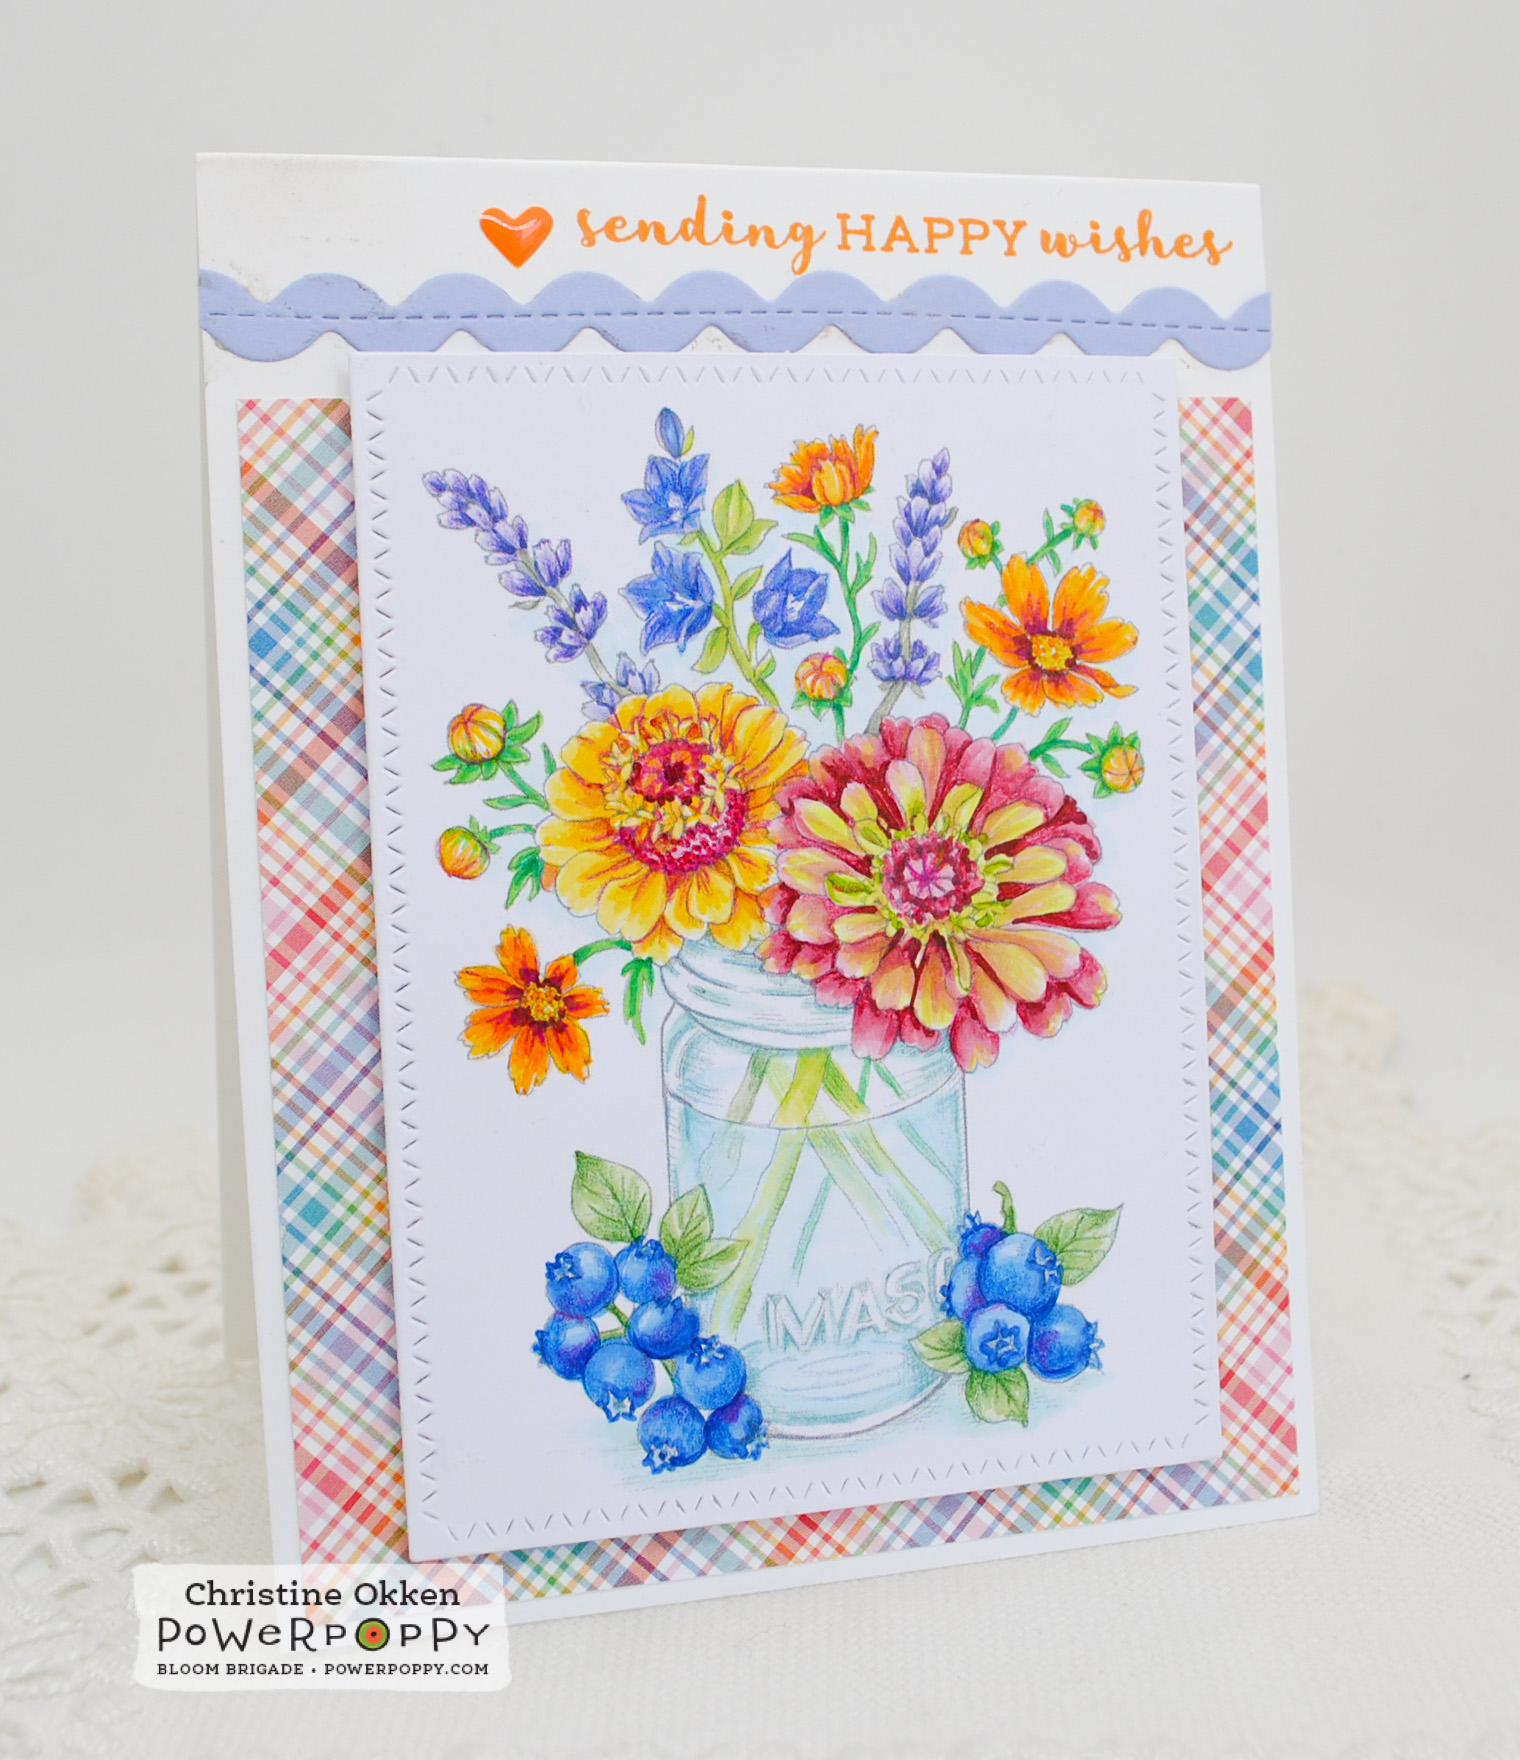
Today I’m using the NEW image from Power Poppy called Accentuate the Positive.  What a gorgeous array of flowers and fruit around this pretty mason jar! I printed the image quite lightly for colouring and then used Copics and Prismacolour Pencils to brighten up the blooms.  One of my favourite varieties of Zinnia is Queen Red Lime, they have such a nice fade between lime and rosy red, so I tried to give the flower on the lower right that treatment in my colouring.  

I have a short tutorial on my blog on what I think are important features of colouring glass HERE.  

Things I like to consider when colouring something in or under glass.  
  • Where the light is reflecting on the glass
  • The width of the glass for colouring, and the bottom edges (if in a vase)
  • Will the glass be coloured or clear
  • Will there be a water level be and will you define it
  • How stems refract and colour fades in water
Marcy has graciously given a special 25% OFF price on some of her best glassy images again during this challenge, all of these beauties on sale are linked here:  

Accentuate the Positive
Cuppa Cupcake
Cuppa Buttercups
Hellebores
Hyacinth Bulb in Glass
Nest is Best
Seaside Sweetness
Single Orchid
Snowglobe Greetings
Sweet & Sugary Snowglobe
Tabletop Tree
Tiny Treasures
Volumes of Beauty
Well Hello Dahlia
Wildflower Mini
Zinnia Parade 

Challenge Details:  We hope you can join us for the challenge this month and create something in or under glass with Power Poppy images! You could win a $20 Gift Code to the Power Poppy store!  Link up your creation BELOW!   

Remember: You MUST use a Power Poppy image somewhere on your design to be included in the Glassy-Eyed challenge.  Entries close on July 16th at NOON.  


Last month’s The Blossom Challenge May Flowers RANDOMLY DRAWN WINNER IS.....Liz Williams with her beautiful Pure Prairie Bouquet!  Congratulations Liz.  Contact Marcy at bloom@powerpoppy.com for your prize code!  

Here’s some gorgeous Glassy inspiration from The Bloom Brigade:  


You are invited to the Inlinkz link party!

Click here to enter

Inspire Me Monday: A Window to Create!


Hello all and welcome to another Inspire Me Monday! When I was putting together my post today, I have to say that I was the one who was inspired. A couple weeks ago, Lisa Johansen inspired us all to create some Spotlight Cards and, like her, I was looking for a way to create a card that was a little less time-consuming but allowed you to use bits and pieces of some of Marcella's beautiful and bodacious illustrations! 

So, instead of spotlighting, I decided to create a bit of a window. You'll see what I mean in just a minute and see how you can use different pieces of an image or even scraps from creations for a little extra wow factor! 

Let's Get Started! 

So, I started by printing out a few copies of Power Poppy's newest digital image called Accentuate the Positive.  I took a piece of decorative plaid card stock and using three sizes of circle dies, I cut my windows. Then, I situated pieces of my digital stamp behind each of the windows to see which sections of the image I liked best.


After setting the cut-out decorative paper over top. I knew that I needed to cut out portions so that the flowers I wanted to accentuate were right where I wanted them! I traced a pencil lightly around the circle and then cut out the images. 


This is what my cut-out sections looked like behind my circles... 
 

And above are the pieces that I knew I needed to color up! And... with the help of my Copic markers, voila! I colored the portions of my image that I knew would show through. 


To create a little extra dimension and the feel of a window, I put pop dots all the way around my circles really close to the edge. I also only removed the sticky back of the window I wanted to place the image behind. 
 

You can see below how that first window turned out.... 


And here's how the back of my card panel looked once I placed all three little segments!


Mat your panel onto a card, add some bling and a foiled sentiment, and... ta-da! I think this look is so fun and it was pretty quick to create since I only colored a small segment of that rather large image! 


Here's a close-up for you! 


Now, this isn't the first time I've done this technique. After I created my card above, I went looking for others and this one popped up! Very similar! I love adding the sentiment for a little extra interest with the patterned paper. I used the digital stamp set Spring Meadow. 


And in the card below, I kept a clean look with mostly white and let my colored-up cherry blossoms from the digital stamp set Flowering Branches pop with color! 


And, while this card below doesn't use a window, it is a twist on the concept by using bits of an image, die-cutting or punching the images and then popping those pieces up on a card front! This card used the digital stamp set Asters Abuzz!


I hope you've liked the creations that I shared -- some old, some new! Special thanks to Lisa who helped inspire a different way to look at spotlight stamping! 

Until next time! Happy Stamping! 

Julie