Showing posts with label Halloween. Show all posts

Monday

Inspire Me Monday: Halloween Bookmarks


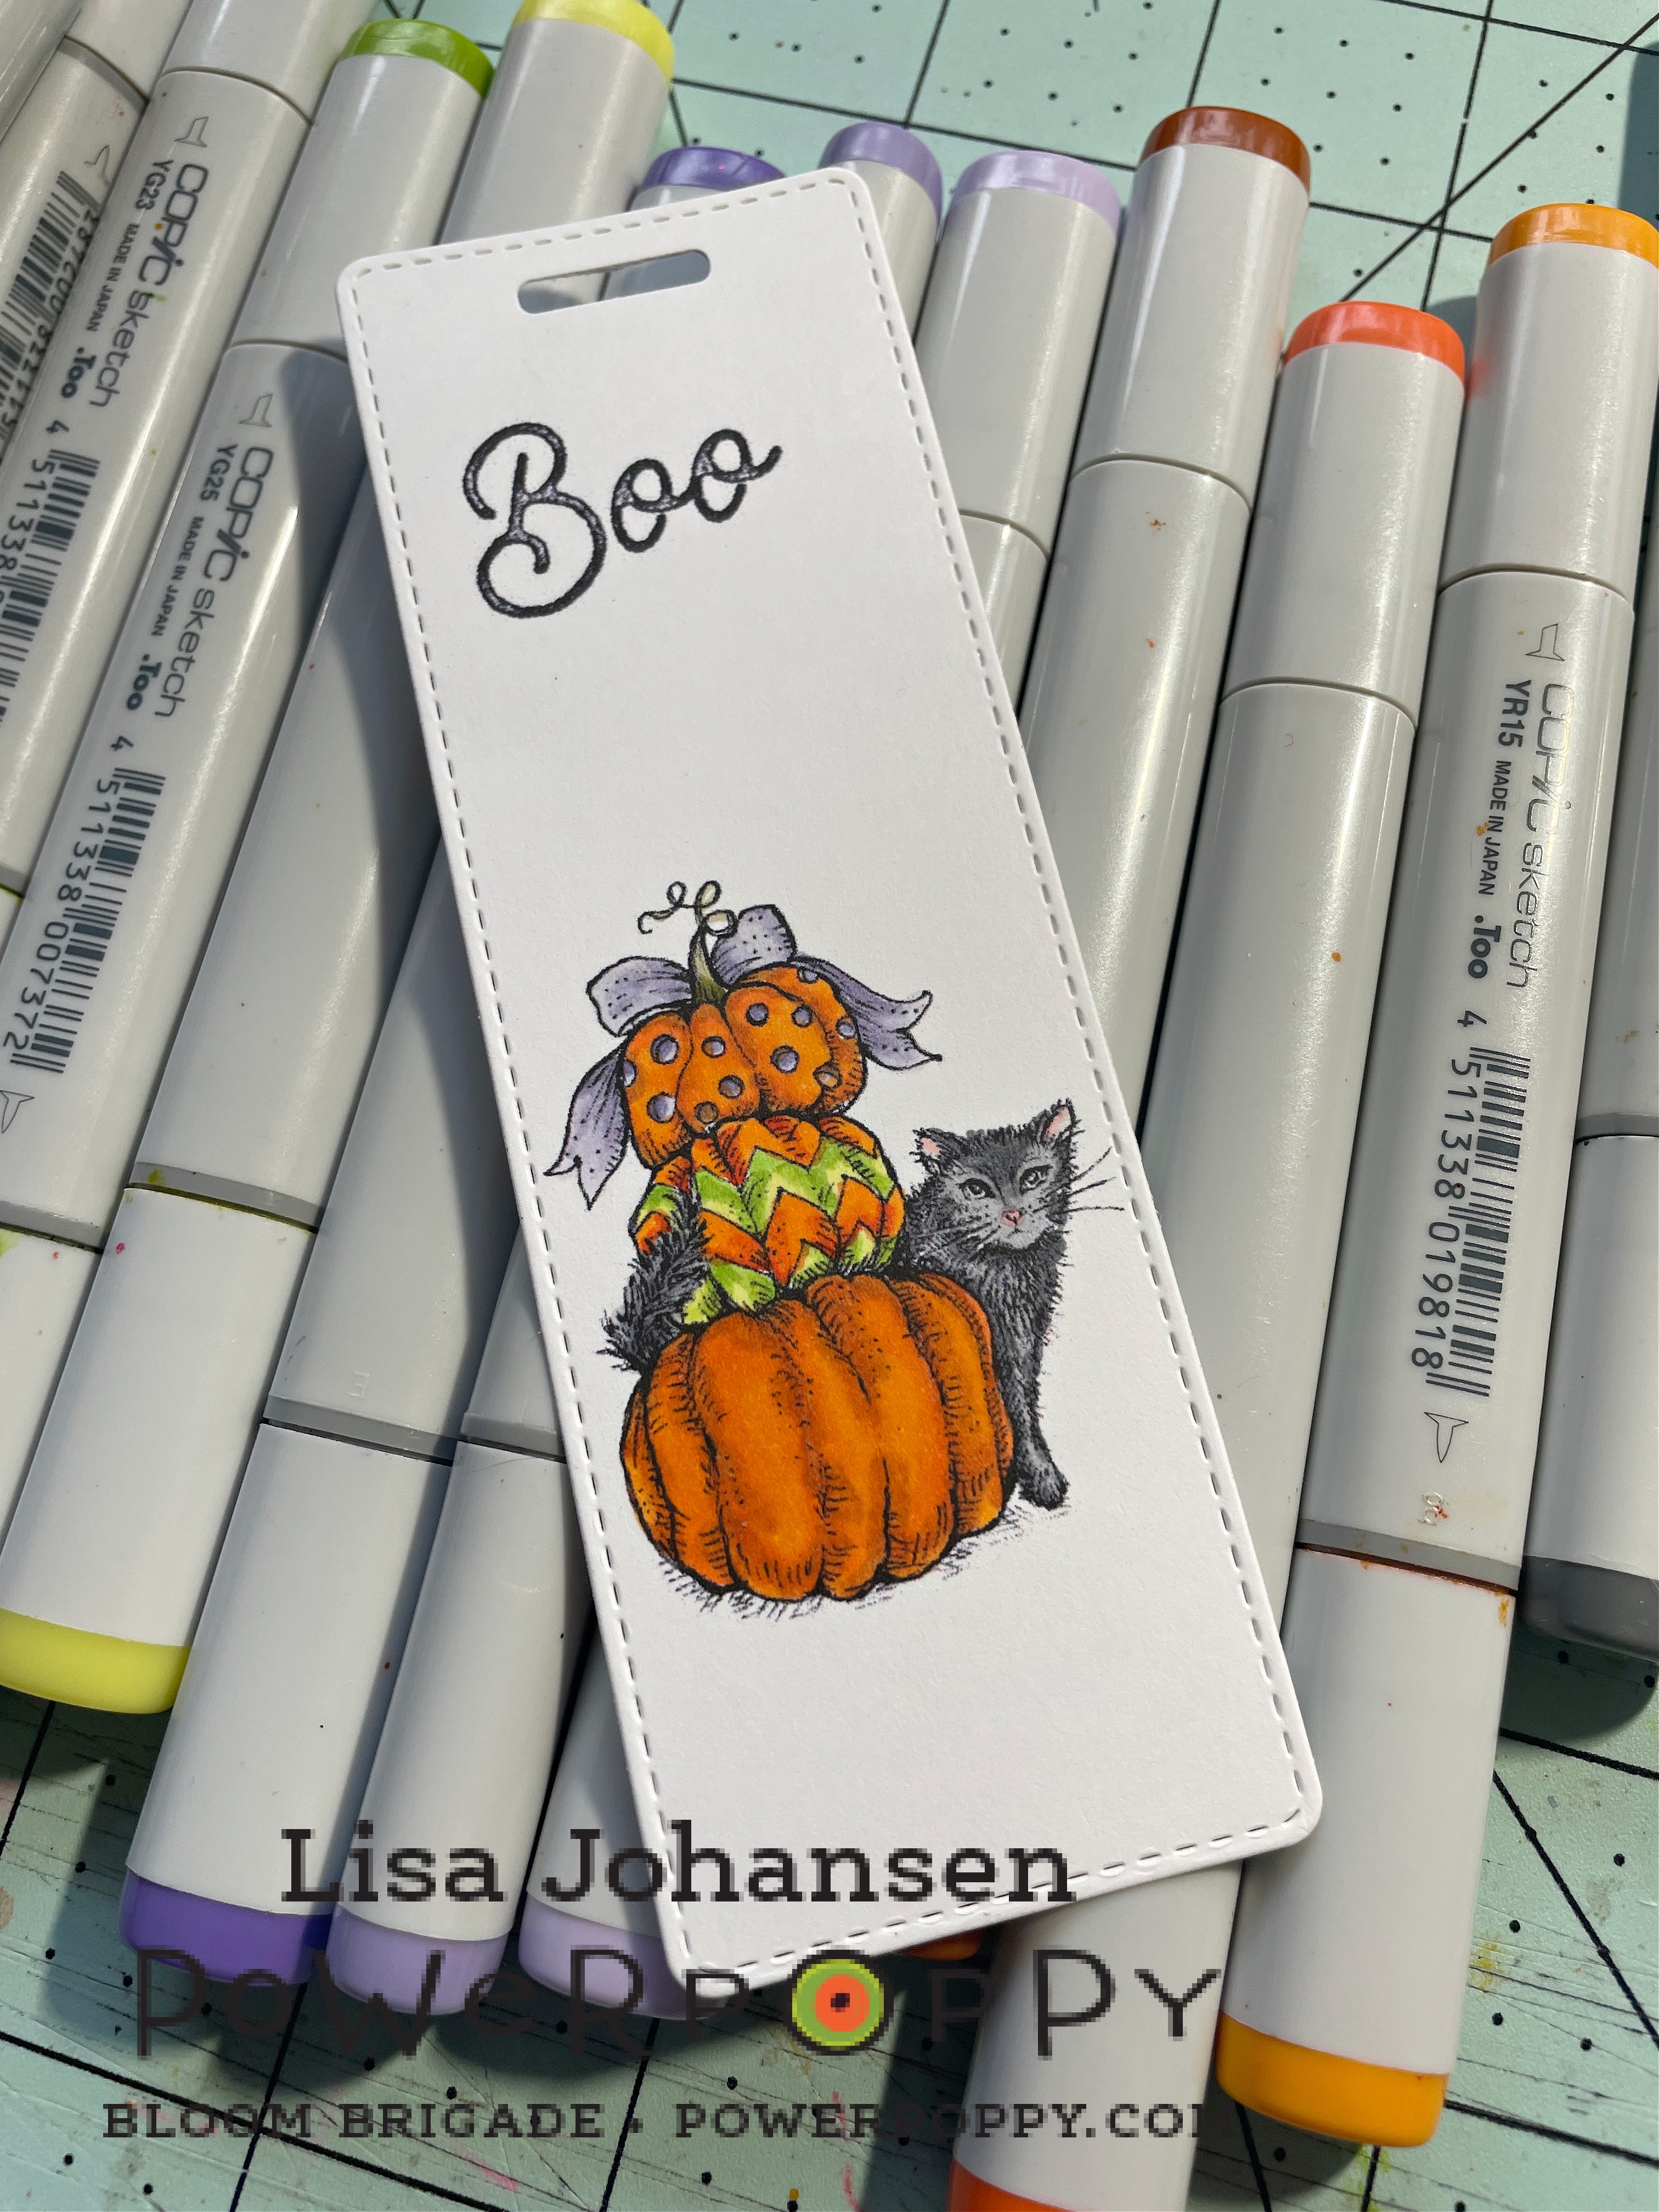
Hello friends! Since today is Halloween I decided to scare up a quick and easy craft, Halloween bookmarks.

My oldest son and I are big fans of horror novels and Stephen King is one of our favorite authors. My son recently gave me a new Stephen King book for my birthday so I decided I needed a new Halloween bookmark to go with it.

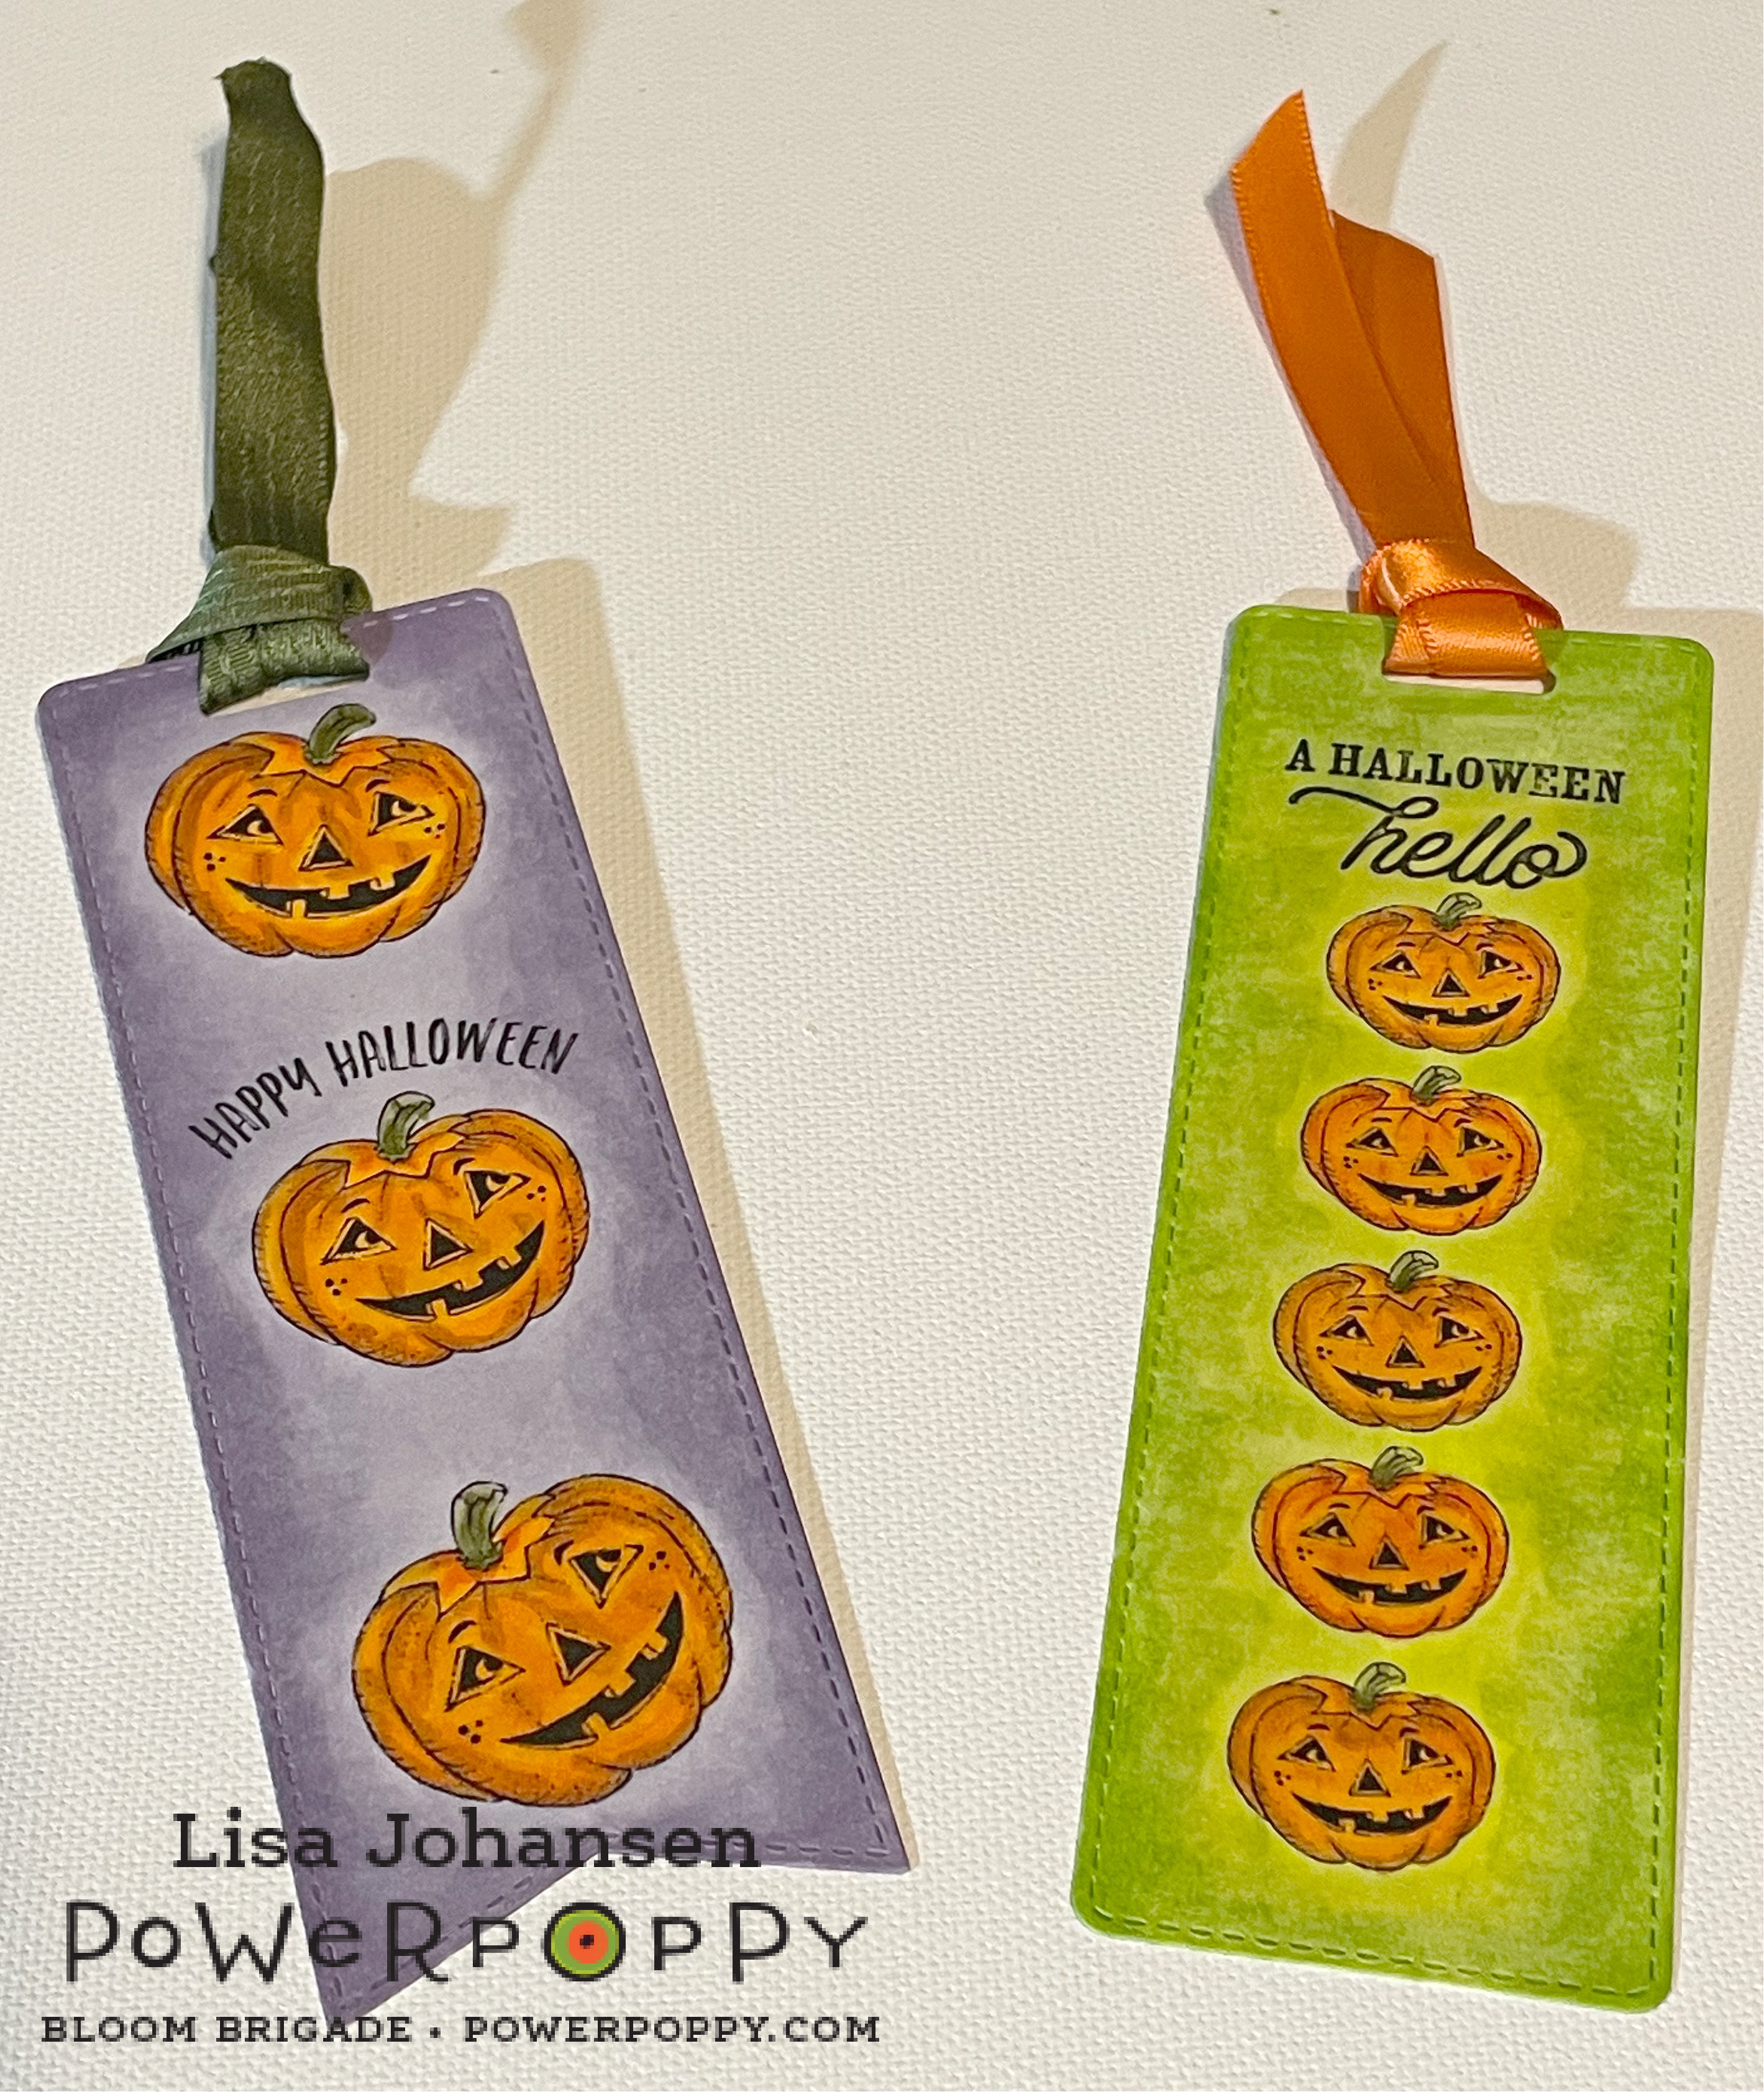
I used the digital stamp set Boo Cat and Pumpkins and put the images I wanted to use in Word, then manipulated them until I had arrangements I was happy with. I then printed them out and cut them with bookmark dies I have.


Once I had the images cut out I colored them with copic markers.


When I finished I had 3 Halloween bookmarks! This took me less than an hour to get done so if you need some easy Halloween treats to give out these are definitely a treat, not a trick!


Thanks for stopping by for this quick and easy Inspire Me Monday, and I hope you have a BOO-tiful day!


Inspire Me Monday: A Little Halloween Flair


Hello all! Since we are three weeks away from 'The Night of Fright', I thought I'd share a little something I came up with on how to transform Marcella's super fun Halloween illustrations into home decor! 

I was at Michaels the other day and they have two rows full of wood pieces that you can use to create your own signs. That's where my idea was ignited! When I saw the options along with some of the fun wooden Halloween messages, I knew I had the start of something fun! 

Want to see what we are creating today? Here's a peek. 


Isn't that super fun? And, while I thought this might take me quite a bit of time to put together, I was done in a little less than 3 hours. I started by printing the digital stamp "Boo Cat & Pumpkins" at 81/2 by 11 inches. Basically, I opened it and printed it so that it would cover an entire sheet of card stock. My wooden base was 91/2 by 14 inches, so I thought this would work perfectly. Then, I continued with some loosey-goosey coloring. No need for super intricate coloring here! I used super large strokes and just colored with strokes instead of constant color. 

So this.....


Grew into this....


And, ultimately, this...


Now it was time to turn my attention to my sign! This is what I started with: a few bottles of acrylic paint, some foam brushes, the natural wooden sign, a natural Halloween sentiment and some decoupage glue. 


You can see I started painting the base of my sign black. I started wanting to cover only those cracks but quickly decided it would be better to give the entire sign a coat of black. You can see, I wasn't too careful to provide an even coat. I already knew I was going to cover this up a bit! 


From there, I took and dry brushed some purple paint over top to create a kind of weathered look. I also painted my Happy Halloween words --- although please ignore this color. After I painted this black I decided I needed a pop of color here and painted over top with a lime green shade of acrylic paint! 


And now, it's time to add my boo cat to this backdrop! I just fussy cut around my image cutting a jagged edge around the kitty so that I didn't have to cut all the little pieces of fur! After it was cut out, I attached it to the wooden base by putting some decoupage glue on the back side with one of the foam brushes. Make sure the edges of your paper don't curl. The key is to apply a super light coat, press down and then weigh the image down by covering it with a book or a few magazines to hold it all in place. 

From there, I added some layered ribbon at the top, securing with a little hot glue. I adhered the Happy Halloween wooden piece with some foam tape so that it would have some dimension. After everything was dry, it was time to add it to the hearth for a little home Halloween flair! What do you think?


And that, my friends, is it! A fun little way to use a digital stamp to create some home decor that's both frightful and fun!

Hope you had fun spending a little time with me today! And, I hope you have a fabulous and creative week ahead!

Until next time, 


Inspire Me Monday: Treats Not Tricks!


Hi all! Julie here with another edition of Inspire Me Monday! I figured with the 'Night of Fright' upon us, I would bring you a SUPER EASY, SUPER CUTE project that you can literally whip up in a jiffy! The folding portion of this project takes less than a minute -- no joke -- allowing you to just take your time and enjoy dolling up this little treat bag for the little ghosts and goblins in your life! 

Here's a peek at the finished project before I 
take you though the step by step! 


Now that you know where we are headed, let's get right to creating! I started with an 8" by 8" square piece of paper and folded it from corner to corner. It really helps to have a bone folder handy to make sure that you fold and crease cleanly. 


From there, you take the corner on the right side of the triangle and fold it so that it creates a straight line across when you fold it and the tip of the paper lines up with the edge of the other side of the paper... like so!


Fold the other side in the same manner so that both of your tips of the triangle criss-cross each other. See?


Once you have your folds all lined up, you can glue each flap in place. From here, you'll take the top of the triangle and fold it down, creating a flap over the area you just folded. This creates your treat pocket. You'll flip over the paper and fold down the second flap on the other side.


This creates the perfect little pocket for fun-sized candy bars!


It's just the right size! 


Because I didn't really like the white flaps, I chose to take an orange decorative paper and create a mat for each flap to add a little extra pop of color! This is where a two-sided paper would work perfectly! I just didn't have any in a color that worked for Halloween..... 


I wanted to show you just how big or small you could go with this treat bag! I started with a 6" by 6" piece of paper and honestly, this is small enough for a few Hershey's kisses, a Ghiradelli square, or one fun-size candy bar. Maybe this one would be best for dollar bills? ;-) As you go up in size, the more you can fit! I actually started with a 12" by 12" piece of paper but when I was done, I thought, wow -- that's pretty big! That might actually make a nice little gift bag in a jiffy for smaller gifts? So easy! 


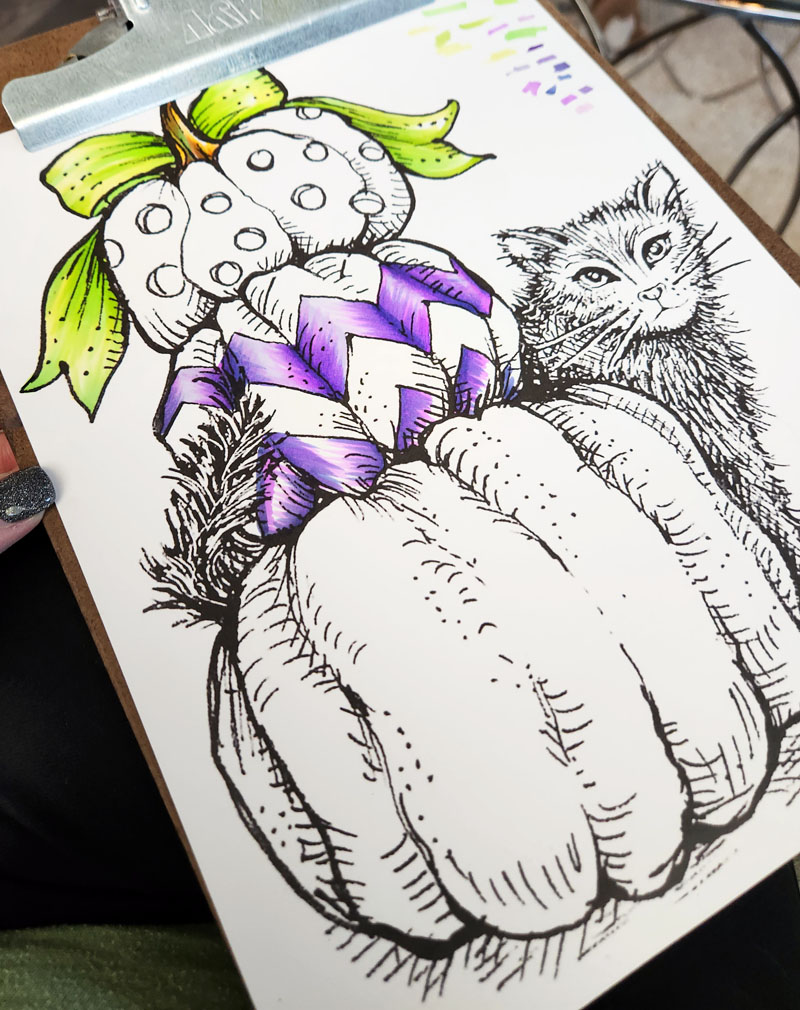
After seeing Instant Gardener Nancy Sheads color up this cute kitty from Power Poppy's Feeling Fall stamp set, I knew I wanted to give her video coloring tutorial a try - so I stamped with Memento Ink Tuxedo Black and cued up the video and colored away following all her cues! If you missed this tutorial, you need to check it out HERE. It was so fun to follow along! Just a little note, if you want instant gratification, Power Poppy just released this cat image in a Halloween digital stamp set called Boo Cat and Pumpkins.  So many fun images in this digital set!


So, when I was done, this is what my treat bag looked like! I ended up sponging Stormy Sky Distress Ink around my image and then, to get a little extra dimension, I sprinkled on some water to get those drops around my image. I was hoping it might look like storm clouds or stars. Not sure if I achieved my goal but I still like the effect! :-) I also added a punched bat with some orange rhinestones for eyes and some fun Halloween ribbon to serve as my treat bag handles. Oh, I almost forgot, on my die cut mat for my main image, I did sponge some white ink around the edges to help it to pop a bit on my darker paper.


And, here's a look at the back of the project. You can see that all I did to secure the treat bag handle was knot the ribbon a few times. 


And, when all is done, you can stuff it with candy -- I chose mini Ghiradelli squares -- and even hang this little treat on a doorknob as a sweet surprise!


Thanks so much for stopping by this Monday! I hope you like this little tutorial and I hope you give it a try yourself! It can be used for so many different occasions --- Christmas (maybe you use these instead of an Advent calendar?), Easter, Valentine's Day, May Day! So many opportunities!

As always, if you give this tutorial a try, I would love to see YOUR take on it! Just leave me a link in the comments! ;-)

Enjoy your week and I will see you back here real soon for our weekly Creative Confetti Challenge!

~Julie