

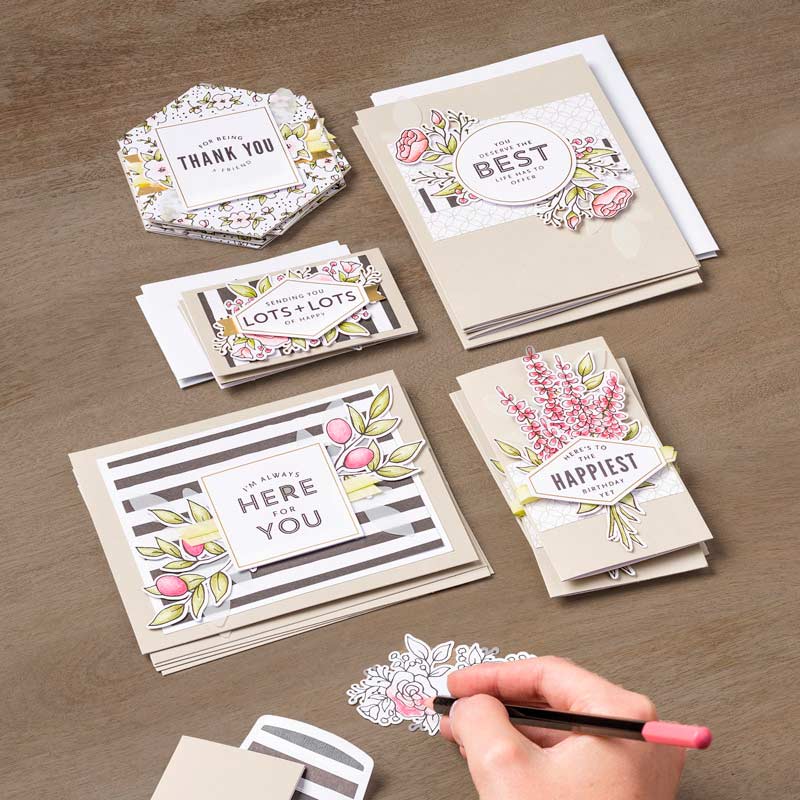
Hello all! As we get ready to throw up a new challenge to kick off the week, I wanted to share a little of the inspiration behind it all. Recently, I've been seeing a lot of cards and creations with frames at the center of them. I like the look. I really like the look. I saw it HERE when I opened up a Stampin' Up catalog. And, I watched it live and in living color with the fabulous Jennifer McGuire HERE recently. So, I scratched my head. I lost some brain cells thinking and I came up with a way to mimic this look using my favorite stamps and a little digital manipulation!
So folks, here's the latest Creative Confetti challenge for you!

HOW TO PLAY:
- Create a card or project that uses a geometric shape as a focal point!
- Use Power Poppy stamps if you have them, if not, you might win some if you're randomly chosen. Each month, we'll round up all those that play in any of the month’s Creative Confetti challenges, and draw a name from the entries to win a $25 GIFT CARD for the Power Poppy Shop!
- To enter, link up your creation below, sharing the direct link to your card from your blog, Instagram, or card gallery.
- Our link will be open all month for you to play along with us! Try one Creative Confetti Challenge or partake in them all for extra chances to win. Just in case you DO want to try them all, click HERE for our first challenge of the month, HERE for our second and HERE for our third!
Let’s get to the geometric shapes, shall we?
First, I started with a blank canvas and just opened up a new blank file.

You can see that I used the cookie cutter tool and chose a hexagon for my first shape. After you choose the shape, you literally just stretch the tool across your canvas and this is what you get - the shape! You can see on the right side of this image below that I added a "stroke" around my image. It's a tool under Effects and Styles. I choose a heavy stroke so that it would be really pronounced when printed.


Now you're ready to print and get to the fun stuff! I should mention that you don't have to create your own shapes. I am sure if you Googled shapes, you'd find a bunch of things that you could copy and paste into a word doc, no problem!
While I was creating this one, I kind of had a field day and ended up creating three card fronts on one big page. For the circle one, I just used the Circular Marquee Tool, created a bunch of circles, added strokes around them and that's how I did that bubble effect. See?

After I was done printing this, I did print a second copy on Avery Removable Full Sheet Labels so that I could use them as masks.

Next, I cut out my hex shape, masked the front of my trimmed card front and reached for THIS stamp set - Winter Wonderland by Power Poppy - I just absolutely find those flowers breathtaking! Those anemones! The beauty of using a geometric shape is also that the hexagon would cover the poinsettia, meaning that this image goes from being a holiday image to a gorgeous array of everyday blossoms and berries!
For this next step, my MISTI stamping tool was critical. I can't stress that enough.

Because you are using a mask, there are times when the stamped image doesn't properly stamp around the edge of the mask, leaving a void. Using the MISTI allows you to reink and stamp again a second time, getting rid of that void. You could never line this up so perfectly with just your eyeballs folks!
So, after I got the image crisp by stamping twice, I removed the mask and.. tada!

From there, I colored it all up and added a sentiment to the inside of the hexagon shape from the Big Scripts stamp set by Power Poppy. I used the same markers as I did for THIS card . Did you notice that instead of coloring up the poinsettia leaves that peeked out red, I colored them as if they were just extra foliage? Slick, huh? No holiday here! ;-)
See?

And here's a closeup! You can see that I added a little glitter to the berries just for fun!

And, while I am not going to show you all three cards right now, here's a little sneaky peek!

I'll post the other two cards with additional tidbits this coming Friday on MY blog! ;-)
Until next time!
~Julie
a.k.a The Creative Confetti Thrower
4 comments:
Wow, your cards are just beautiful.
Wow, Julie, this is a BRILLIANT idea, and I really love your card! You are absolutely right about using the hexagon to cover up the poinsettia and make it for any occasion -- not just Christmas. Your colors and coloring are gorgeous, and I love the other two cards. Eager to see the finished cards on Friday. Thanks for a really inspiring Confetti this week! Hugs! xoxo
Thank you for the tutorial!!
I love masking! Your flowers and leaves look great behind the frames.
Post a Comment