

Hello Power Poppy fans and welcome to the end of another creative week! Are you ready to see what the Bloom Brigade has been up to? Or, are you excited to see who the next few Peeps of the Week are? WE SURE ARE!
What's the Peep of the Week you ask? It’s only the most fun, colorful, creative, and easiest way to show off your Power Poppy goodness!
HERE’S HOW TO PLAY: All you need to do is use the linky below and share a new Power Poppy creation. Just that simple! It can be anything — a card, an altered item, a 3D creation, a set of cards, ANYTHING! We love to see what you’re making.
OFFICIAL RULES:
- Use Power Poppy Stamps on your creation!
- You CAN combine challenges — we love to see just how creative you can get using our stamps!
- Link up your creation using the Linky below
- Mention the Peep of the Week challenge in your blog or gallery post with a link back to this blog post!
- We’ll accept entries up until Thursday @3PM EST and will announce the Power Peeps of the Week next Friday for our Peep of the Week post.
By the way, have you checked out our Pop Goes the World Challenge HERE? It's a fabulous color inspiration challenge and if you win, you get a free stamp set of your choice! You have until August 31st — so get those fingers inky!! We'll announce the winner next Friday along with the monthly Power Peep winner as well...
Mark your calendar for a super exciting 5-days to help you celebrate the holidays in full sparkly splendor. That’s right, we’ll be revealing the FIRST EVER Power Poppy Holiday Release! Squeel! Oh my! Wait until you see this holiday collection full of whimsy! I really wish I could give you a sneaky peak, but that kind of action is above my pay grade! ;-) You'll just have to wait until September 27th when we kick off 5 days of spirited fun guaranteed to get you in the Christmas mood!
**NOW TO OUR SUPER DUPER POWER POPPY PEEPS OF THE WEEK!**
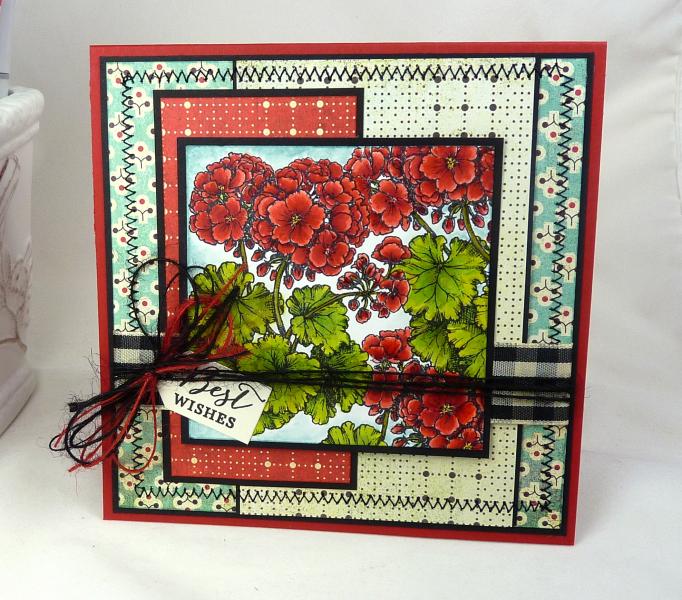
Doesn’t this beauty above just make you say Ahhhhhhhh...? Aside from the fabulous combinations of papers, a crisp layout, and all that wonderful stitching to give it some POP — look at that coloring job from the talented Becky TE! The overlapping flower images from Geraniums Take Two make you feel as if you’re sitting in the middle of a windowbox!

And check out the feminine beauty crafted by the talented hands of Helen Airton! Helen always has a way of adding those decorative touches that just take a creation to the next level! It’s romantic, lacy, and pink — but those snappy black accents give her card such depth. I have to add that she’s masterfully colored up the gladioli from the stamp set Dynamic Duos: Glads & Gerberas!
Ladies, we can’t wait to add these beauties to the Power Poppy Peeps of the Week board over on Pinterest! And remember, if YOU plan to use Power Poppy stamps in a creation this week -- join in on our Power Poppy Peeps of the Week Challenge simply by linking up your creation below! Next week, we'll take all of the entries for August and pick one lucky winner to walk away with a STAMP SET OF CHOICE! You still have time to enter, so what are you waiting for?
Want to see some of the latest eye candy, courtesy of the Bloom Brigade? You’ll have to hop on over and see...
Allison Cope
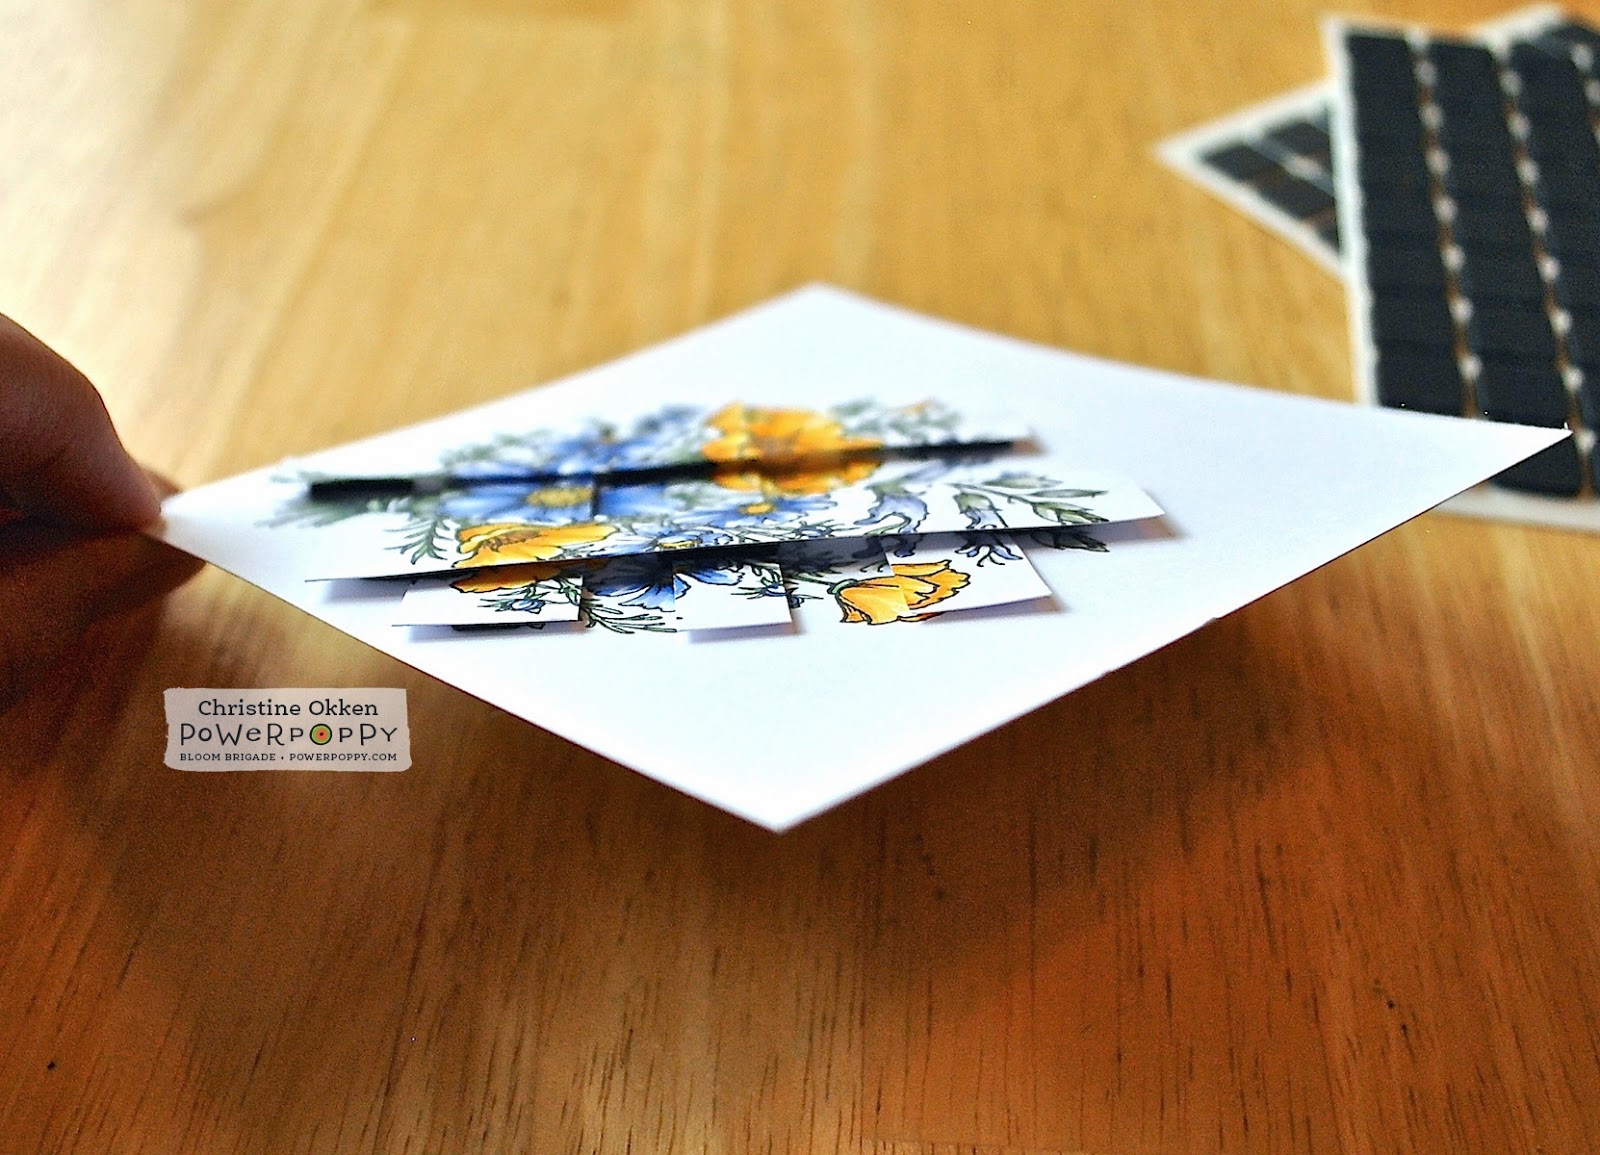
Christine Okken
Cindy Lawrence
Dawn Burnworth
Katie Sims
Leslie Miller
Stacy Morgan
Tosha Leyendekker
Be sure to leave these fine ladies some love in the form of a comment, link up your Power Poppy creations below and we’ll see you all back here soon!


