


HOW TO PLAY: Create, letting your image fall in and out of a frame. This can be in a physical frame, you can fussy cut. You can get creative with stamping the image multiple times. Let's see your take on this one!
On to my creation... Here, below, is a peek at my card! You might wonder, "Hey, what image is that? I've never seen that one before!" If you did indeed say that, first click HERE to see Amy Shulke's tutorial on underpainting using this image -- Aloe and Oranges -- which is coming soon to the Power Poppy Shop!!
On to my creation... Here, below, is a peek at my card! You might wonder, "Hey, what image is that? I've never seen that one before!" If you did indeed say that, first click HERE to see Amy Shulke's tutorial on underpainting using this image -- Aloe and Oranges -- which is coming soon to the Power Poppy Shop!!

I absolutely love the colors in this image -- vibrant oranges, soft serene greens with a splash of purple in the stems of the coral aloe! I had never seen this plant in real life. But, if you Google it, you'll see that the blooms sprout from the aloe plant. Who knew? Not me!
So, as you look at my card, you'll see that I have the plant popping in and out of a physical frame. That's not a part of the original stamp. So, how did I do that? You're about to see!
So, as you look at my card, you'll see that I have the plant popping in and out of a physical frame. That's not a part of the original stamp. So, how did I do that? You're about to see!
I started by opening up the image and then creating a canvas that was basically the same size as the front of an A2 card. 4.25 by 5.5" at 300 dpi in Photoshop Elements.

After placing my digi on this canvas, I created a rectangle by using the Marquee Rectangle tool and dragging my mouse to create a rectangle. From there, I clicked on the tab that says Layer and created a solid fill layer in white to match my background. You can see below, after I created that fill layer, I added a black stroke around the outside. This was the second-heaviest stroke.
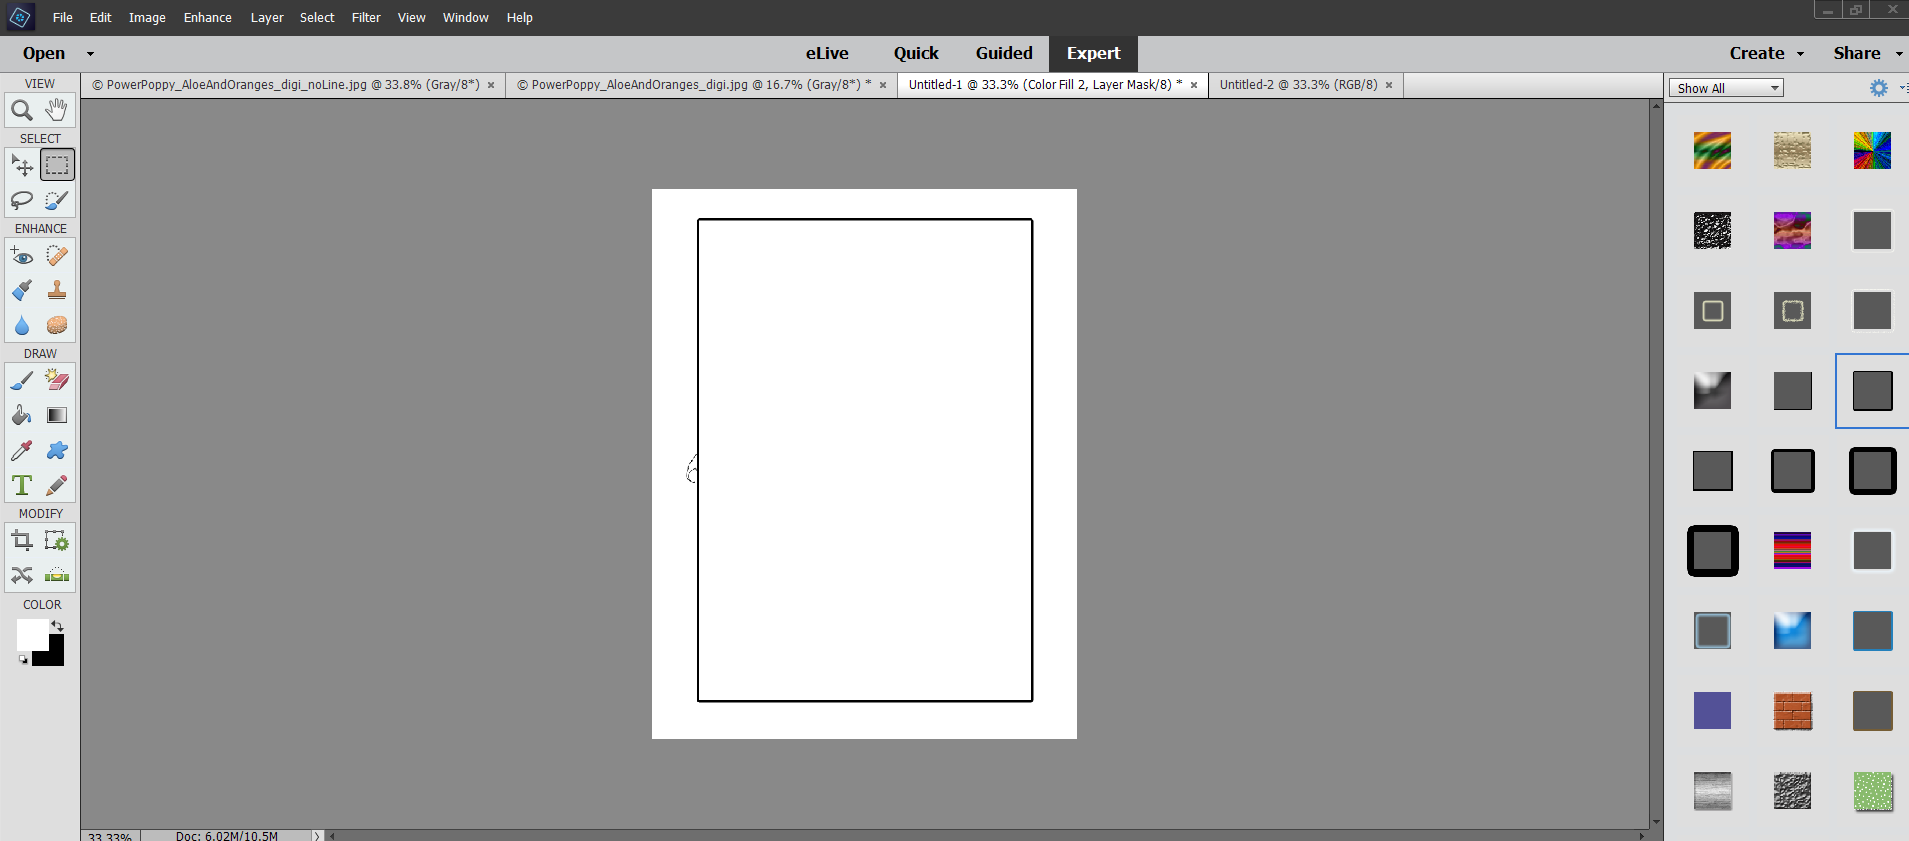
From there, I brought my main image forward by hitting the control button at the same time as the right bracket button. You can see below that I still have my white background on my main image. Well, for this technique to work -- that has to go!


And here's a peek again at my finished card! You can see in my finished image, I scooted the digi over a bit so that more of it fell outside the frame before coloring it up with Copic markers.
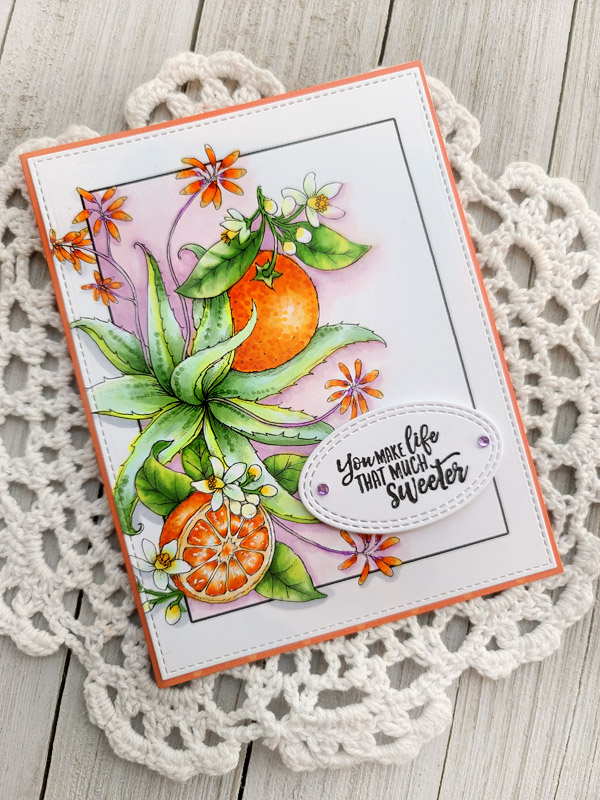
Since this image was so large, I just stuck it on an orange card stock base and then added a stitched oval sentiment. Not a lot needed when the image is so bodacious all on its own! ;-) I used the sentiment from the Summer Berries clear set because I thought it was so perfect for this image. Pop it up with foam tape, add a few rhinestones and.. ta da! Done!
I have to say, I wish I could tell you which Copic markers I used to color up this image but I was watching baseball on TV and just grabbing from my Copic Marker storage bag as I went! I do know that I tried to use more blue-green colors for the aloe and more rich green colors for the leaves. the oranges were pretty straight forward. I chose the most vibrant shades of orange and deep yellow. The background was colored with V01, and V0000. I just LOVE purple and orange together! My two favorite colors!
Want to join me this week? Simply create, post and then link up using the linky below! As we always say, if you get those fingers inky and play along, each and every link is an opportunity to win a $25 gift code to the Power Poppy Shop!
Until next time!

2 comments:
How gorgeous your card is! I love the pink background. Thank you for the tutorial! hugs, de
Julie - you rocked this design!
Post a Comment