Hello everyone! It's Mindy here and today I'm sharing a fun little Christmas Organizer with you all. This is so easy and fun to make and oh so useful! I'm using this super cute Stamp Set, Glitter House Village Stamp Set on the front of the organizer. (Note: This stamp will be back in stock and shipping out December 11 — available for purchase now!) Feel free to decorate with any stamps you desire.
Christmas Organizer / Receipt Holder Tutorial
- Take a 12x12-inch sheet of cardstock and score it at 4 inches and 12 inches.
- Then, turn the paper and score at 4 inches on the opposite side of the previous score lines like in the following photo.
- Cut on the 4 and 8 inch scored lines going up to the score going across. Then you're going to want to make a thicker gap between the middle flap. Trim about 1/8 inch off at a slight angle.
- Add a strip of glue to the sides of the flaps. You don't want to put any on the edge of the flaps because you want these to be pockets for notes, receipts, shopping lists, menus etc.
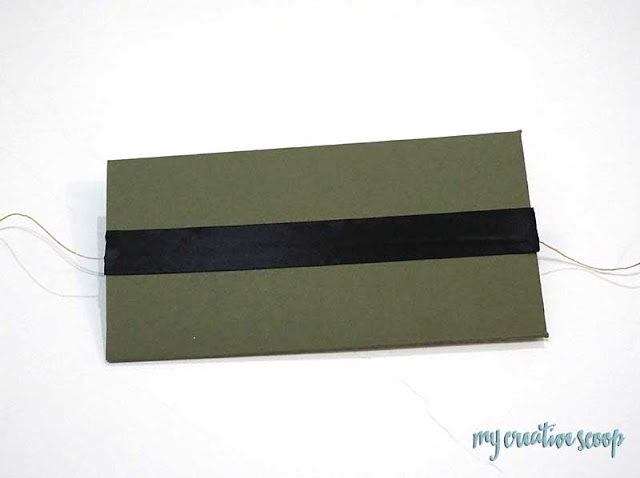
- Fold your Christmas Organizer shut and on the back (which is the middle section of the organizer) use a thick piece of score tape and adhere some twine.
- Then I covered the twine with some ribbon, leaving the twine unwrapped so it's able to wrap around to the front and make a bow.
- I trimmed some paper and slid them into my slots and also took some patterned paper and decorated the outside of my pockets. You could label the pockets for each gift recipient if you'd like!
- When you fold the top flap down you will notice I added an envelope for receipts, Christmas lists etc.
I hope you enjoyed my tutorial and if you would like to see how I colored this check out my blog using the link below for a coloring tutorial!
Remember, you can go back to post your take on this project and you will be entered for a chance to win a $50 Gift Code to the Power Poppy Shop. POST A LINK TO YOUR PROJECT HERE!
♥Mindy


5 comments:
Beautifully done! Thanks for sharing the tutorial.
very cool! I could see adjusting it to make a chequebook holder! Thanks for the inspiration!
Love that xmas village stamp. Uhh, on the first line of your instructions you have score at 4 and 12"!! Do you mean 4 and 8?? HUgz
Mindy, what a sweet and beautiful Christmas organizer! I love this Christmas village, and what beautiful coloring! Thanks for the great step-outs and instructions, and I know this is a great idea for a gift and to use ourselves each year! Hugs!
Love how you have the scene go over the
bottom to the top flap. Great
coloring. Will be fun pulling
this out of my purse and wowing
people with the cute holder.
thanks for sharing.
Post a Comment