Showing posts with label Lisa Johansen. Show all posts

Monday

Inspire Me Monday: Halloween Bookmarks


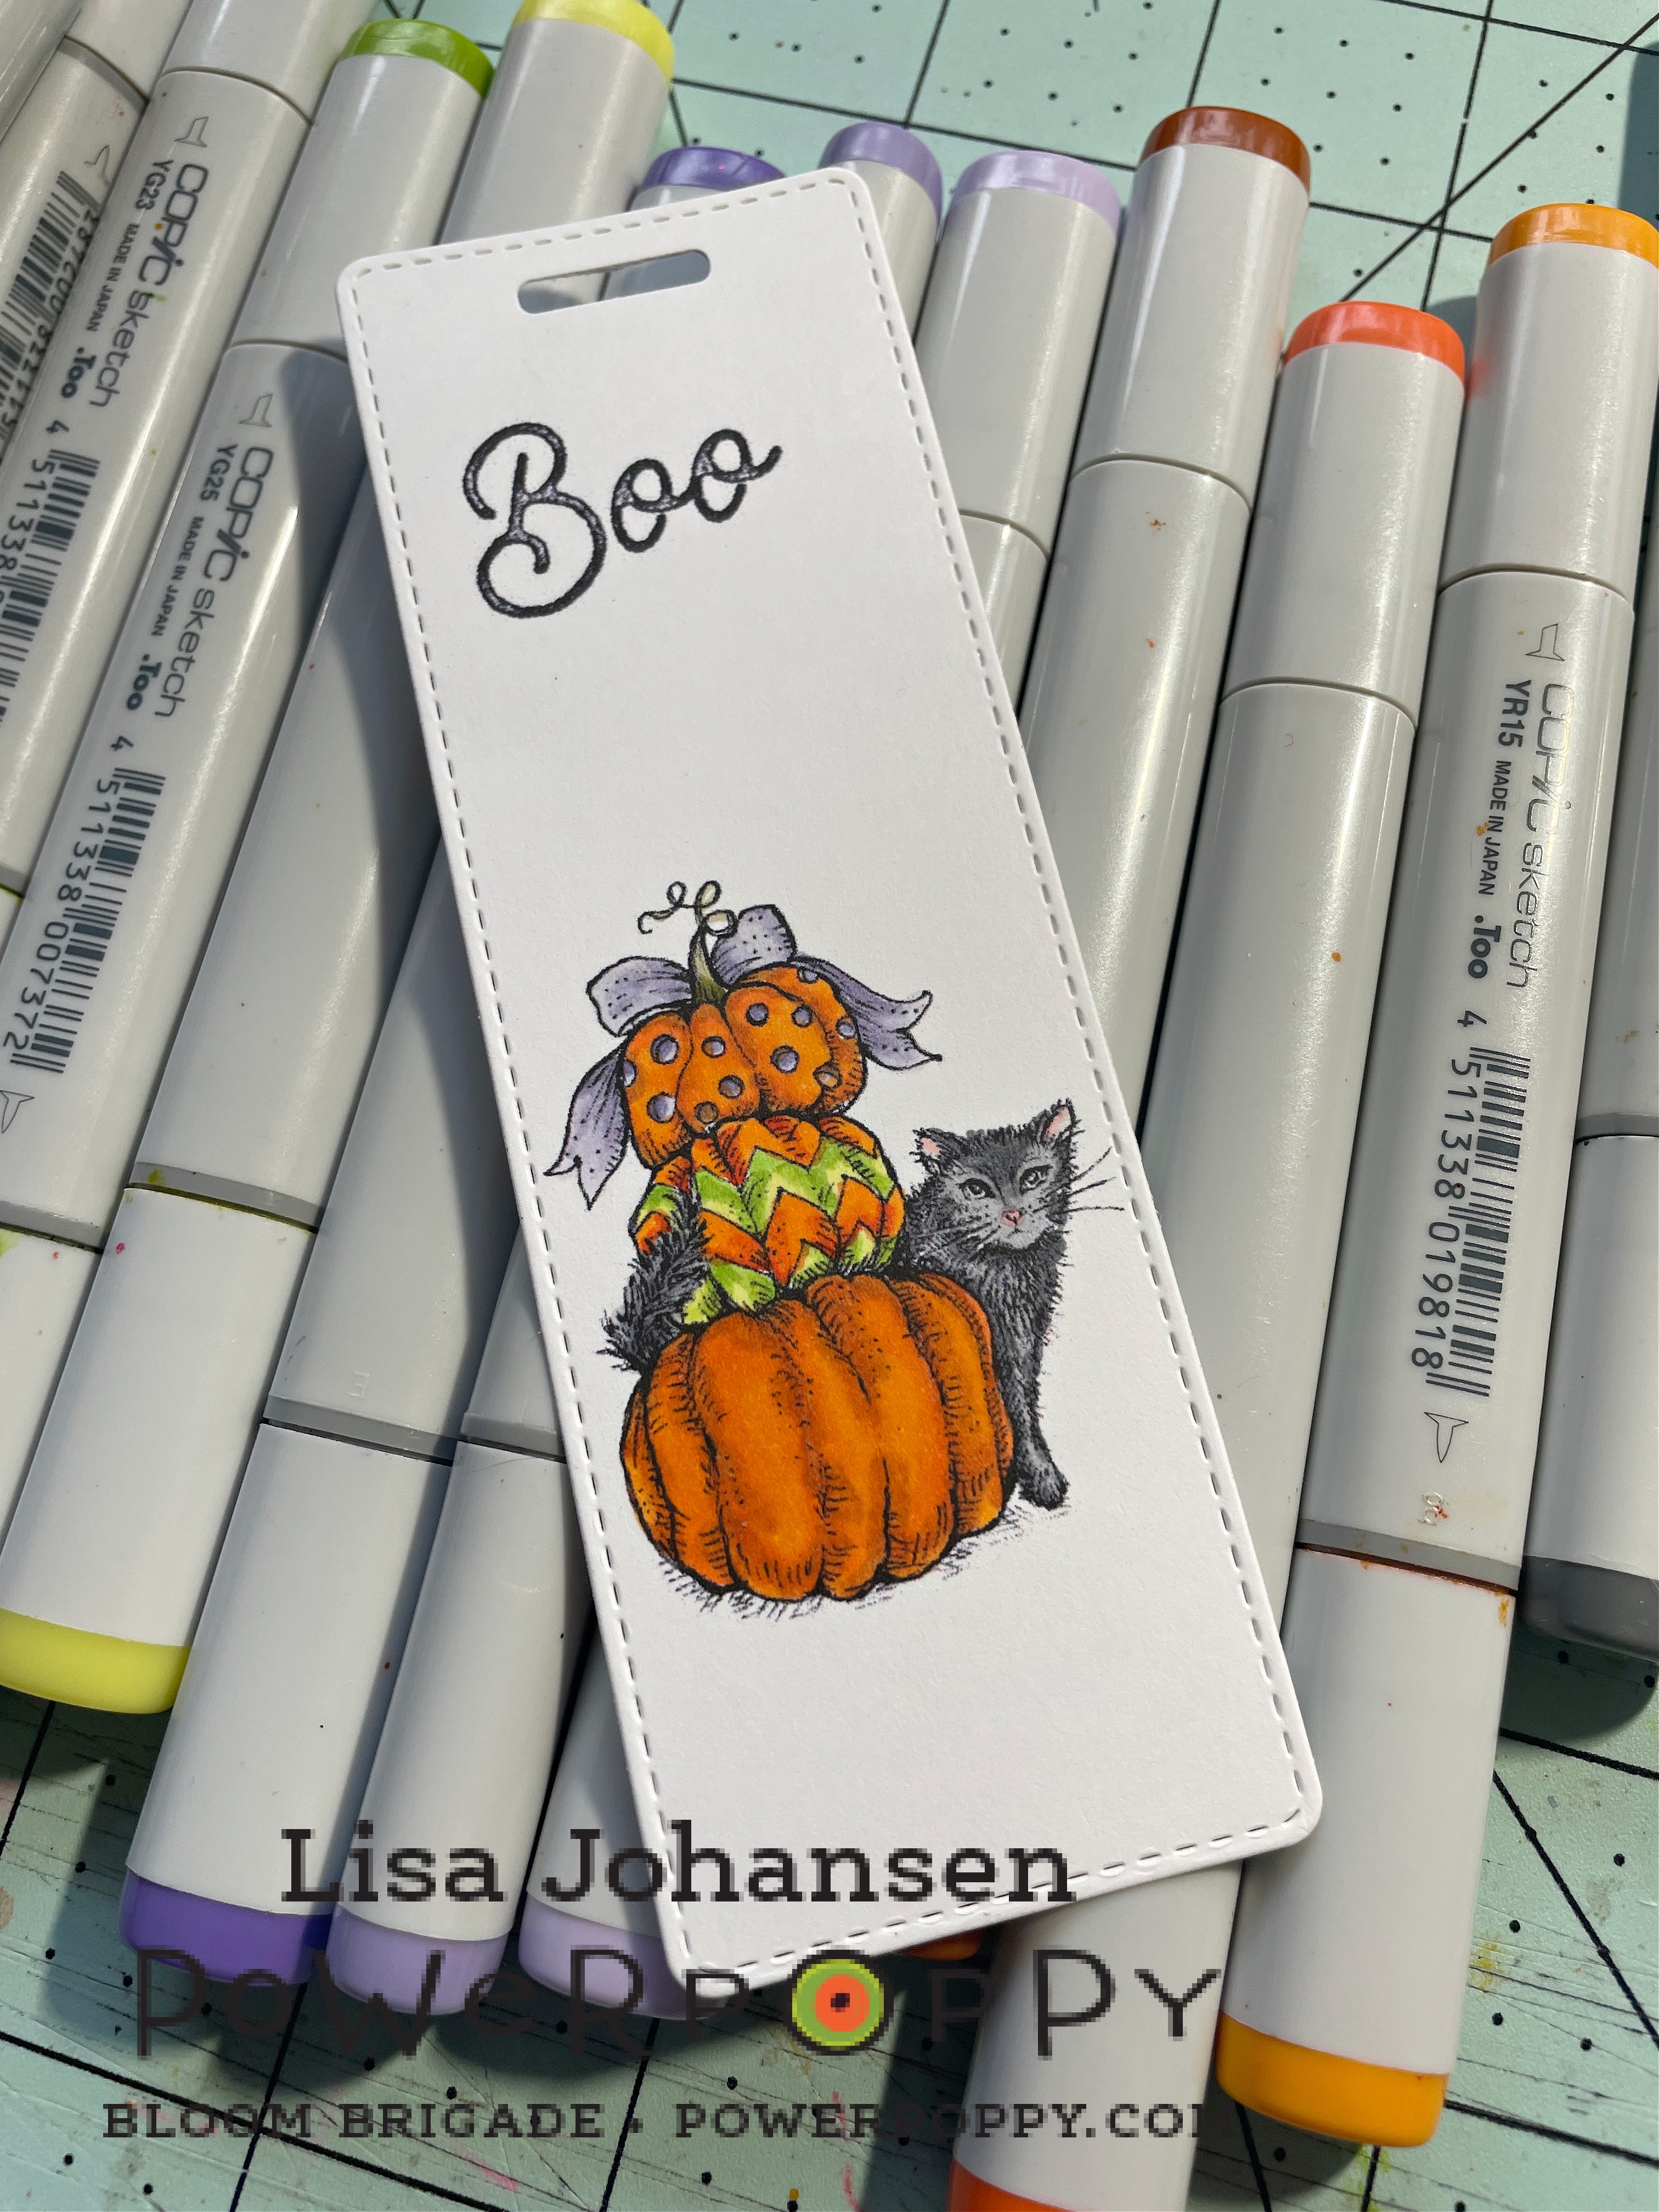
Hello friends! Since today is Halloween I decided to scare up a quick and easy craft, Halloween bookmarks.

My oldest son and I are big fans of horror novels and Stephen King is one of our favorite authors. My son recently gave me a new Stephen King book for my birthday so I decided I needed a new Halloween bookmark to go with it.

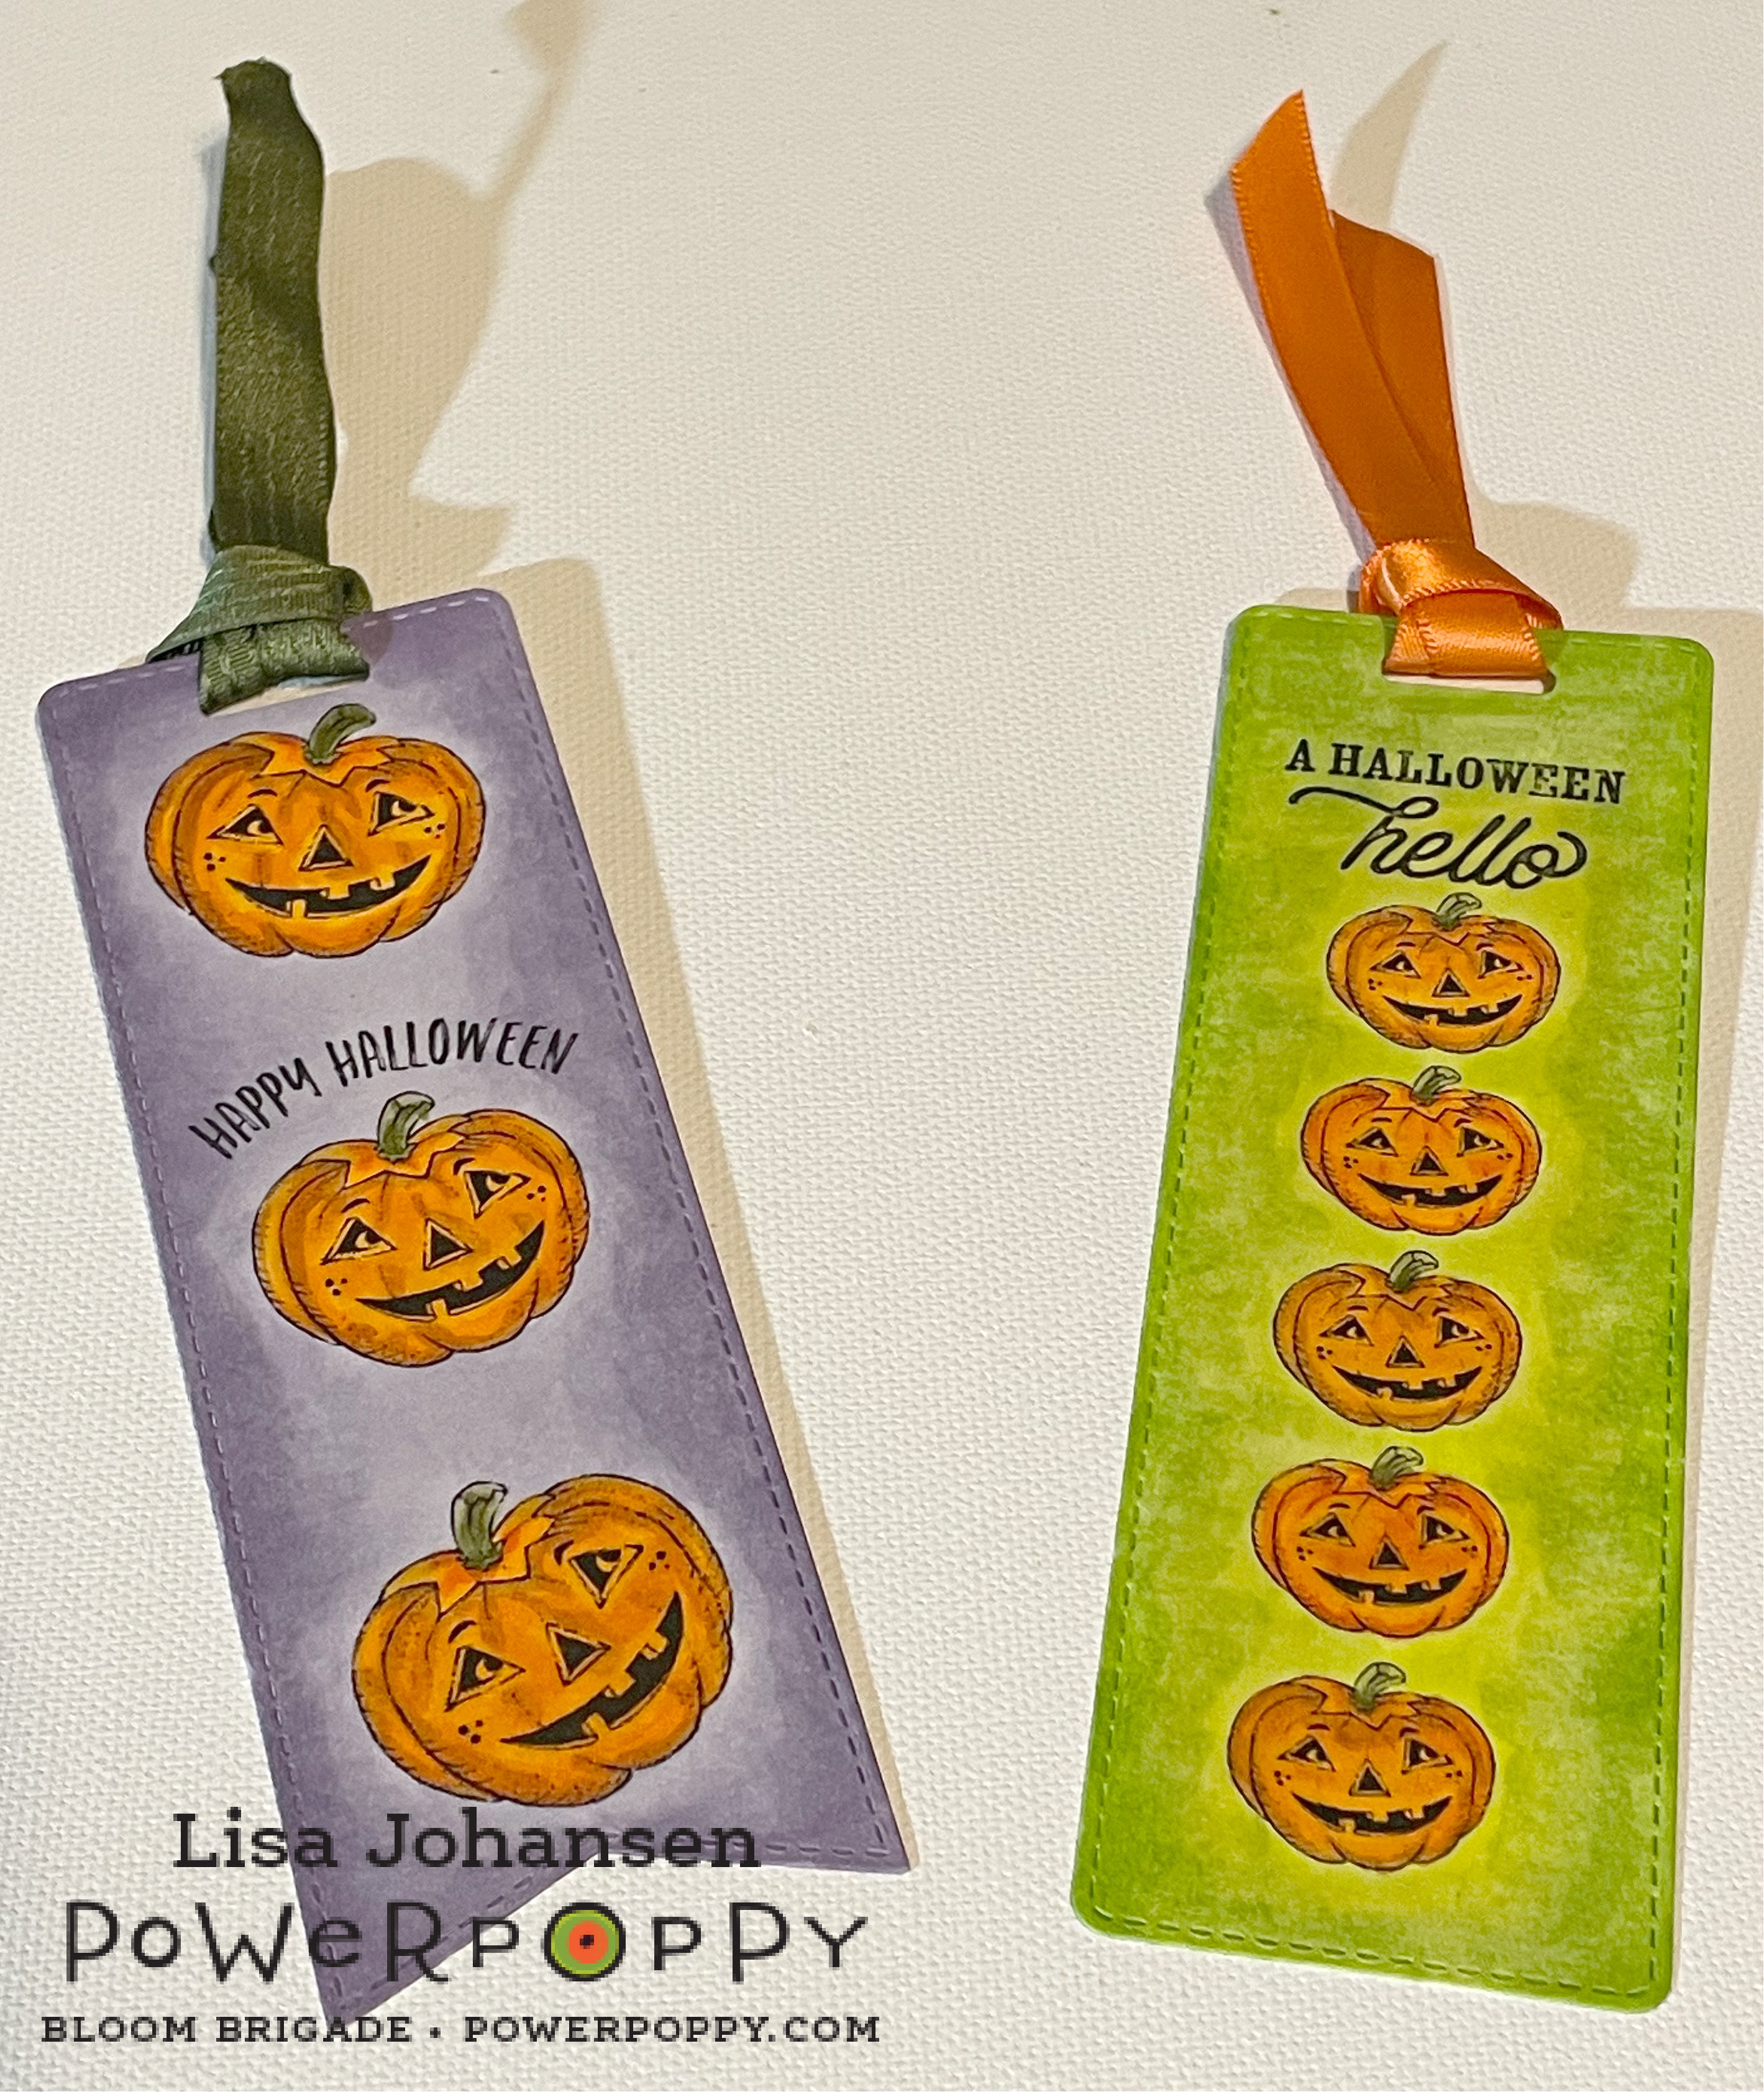
I used the digital stamp set Boo Cat and Pumpkins and put the images I wanted to use in Word, then manipulated them until I had arrangements I was happy with. I then printed them out and cut them with bookmark dies I have.


Once I had the images cut out I colored them with copic markers.


When I finished I had 3 Halloween bookmarks! This took me less than an hour to get done so if you need some easy Halloween treats to give out these are definitely a treat, not a trick!


Thanks for stopping by for this quick and easy Inspire Me Monday, and I hope you have a BOO-tiful day!


Inspire Me Monday: One Layer Creation


Hello all and welcome to another Inspire Me Monday! It's me again, Lisa, and I have another simple method this week, one layer creations! It doesn't matter if you are using clear stamps or digital stamps, one layer cards are a quick and easy way of getting creative.

Let's Get Started! 

I started out by choosing the digital stamp I wanted for this card. Because I have a ton of them in my yard right now and because they are my favorite little flower I went with the Pansies Digital Stamp Set. Using Microsoft Word I arranged the stamp how I wanted it on my card, put a sentiment on it and then sent it to my printer.


Purple and yellow pansies are really the only ones I get, I just love that color combo, so that's the palette I went with for my digital stamp. The coloring went nice and quick because I have colored this image so much. When I was done I just did a quick light gray border around the flowers and called it good! If you are like me and always pressed for time I hope I inspired you to consider creating more one layer cards!


Here are a few other one layer cards I have done with Power Poppy images:


Have a fabulous week, and don't forget to check out the month long The Blossom Challenge going on!

Inspire Me Monday: Share the Spotlight


Hello friends! It's time for Inspire Me Monday once again and this time it's me, Lisa Johansen, bringing everyone some inspiration!

This week I decided to feature the Spotlight Technique. Like many others my life is a blur...I work full time, I am a volunteer firefighter for my town, I'm on the board for a local bird rehab center plus I sneak in time with my family and friends, gardening, crafting, workouts, photography etc. Some days I really want to get creative but have a small window of opportunity to do so. This is where we bring in the spotlight technique!

This technique is very simple....choose the image you would like to use and either stamp or print the image twice. 


Because today is Memorial Day in the United States I decided to use the digital set Perfect Poppies with a red, white and blue theme. I knew I wanted a sentiment so on the copy on the left I placed the sentiment where I wanted it and changed the color to blue.

Next, on the 2nd copy of the image, decide what part of the flower is going to be your focal point and cut it out.


Once you have the part of your image you plan on spotlighting cut out it out and color it.


Now take your first image, adhere it to your card base and then add your spotlighted portion. I used pop up adhesive on the back of mine to get extra dimension. 


Card #2

For my second card I followed the exact same steps, except this time I used the digital set Garden Fireworks.


This time I decided to go with a square shape for my image panels, using the smaller square to die cut my spotlight piece.


Now just put your card together and get your spotlighted image in place.


By using this technique it took me less than 15 mins per card to get everything done! That left me plenty of time to go finish watching the new season of Stranger Things with my family :)

If you've never tried this technique (or even if you have!) I hope you give it a chance and if you do, stop by and share a link to your creation in the comments section! 

Thanks for stopping by the Power Poppy blog, have a fabulous week!

Lisa

Friday

12 Days of Christmas ~ Day 4


Welcome to  Day 4 of  the 12 Days of Christmas! It's Lisa J joining you today for some Christmas fun and I am using one of my very favorite sets of the Quiet Christmas release, Forest Fellas.


Like many folks this time of year I feel like there aren't enough hours in the day to get everything done. I wanted a treat holder for coworker gifts that would be easy yet fun at the same time so I did a search on the Power Poppy blog and came across THIS adorable pouch from Julie. Even though she did hers in a Halloween theme all you have to do is change the paper used and you can make one for any occasion, so I whipped up 2 quick ones for Christmas!


Following the instructions I folded the paper to get the pouch shape and then filled the smaller one that uses the moose image with Hershey kisses. I did a bigger pouch that used the bear image as a tag on the front and put some hot chocolate packets and candy canes it. They are the perfect little gifts to spread some holiday joy at work!


I used the clear set for my pouches but Forest Fellas is also available as digital stamps. Buy them HERE in the Power Poppy store!


Don't forget to check the Power Poppy blog tomorrow for more 12 Days of Christmas fun.

Wishing everyone a happy and healthy Christmas,

Lisa


Don't forget to check out all the festive fun on our Day 1 post on the Power Poppy Blog, HERE.

Tuesday

Creative Confetti: Birthday Wishes!


Hello friends! It's Tuesday and that means it's time for a brand new Creative Confetti challenge! Can you believe we're easing into the middle of October already? I love October for a few reasons but my favorite reason is that it's my birthday month! My birthday was Oct.11 and my husband and I headed to one of my favorite places in Alaska - Seward. It's a wonderful little town and I love escaping to there every year.

So what does this have to do with Creative Confetti you ask? Well, let's get a birthday card made this week! I always seem low on birthday cards in my stash so now is the perfect time to get one or two added to the pile.


HOW TO PLAY: Create a birthday card, it's that easy!

On to my creation....

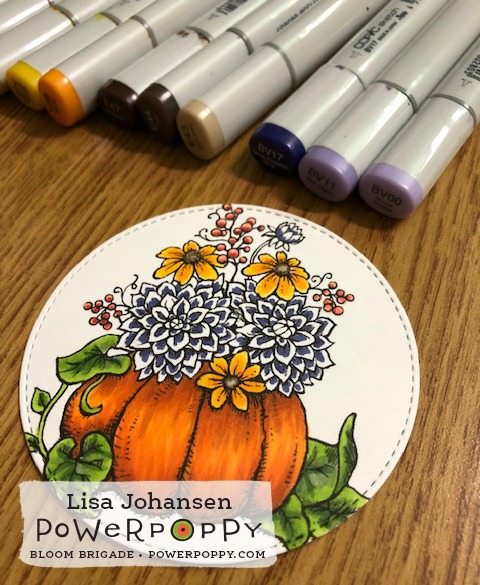
Since I have a fall birthday, I decided to use an autumn-themed image on my card. I went with a pumpkin filled with flowers, an image found in the Season's Seatings digital set, which you can find HERE.


I brought my copics and image with me on our trip so I could color at the end of the evening. Thankfully, I usually print out 2-3 copies of the same image so I can have several on hand and that turned out to be a good thing. The dreaded marker blob happened as I was getting to the end of my coloring on the first image I started. Needless to say, my husband heard me utter some colorful words and then I grabbed the backup image I had brought with me.


Does the layout look familiar? I used the layout from Julie's Creative Confetti Sketch on Sept.29th, which you can still play along with! 


I was going to put my sentiment on the front but after hemming and hawing about it for a while I finally decided to leave a sentiment off the front and I added it to the inside of the card instead. The birthday sentiments I used can be found in the clear set Party Time. This set is retiring but you can currently still grab one HERE at a discounted price!

Want to join me this week? Simply create, post and then link up using the linky below! As we always say, if you get those fingers inky and play along, each and every link is an opportunity to win a $25 gift code to the Power Poppy Shop! 

Thanks for stopping by!

~Lisa

You are invited to the Inlinkz link party!

Click here to enter

Creative Confetti: Keeping It Simple


Hello friends and happy Tuesday! I hope the week is off to a great start for everyone! Lisa here to bring you this weeks Creative Confetti and we're going to keep it simple!

Life is a bit crazy for me right now....I work for our local school district and our kids are headed back to school on the 19th so we're busy getting ready for them. Plus, after 11 years of working the night shift, I'm switching to days. So, I'm trying to balance work, family time and crafting time! I'm always about keeping things simple but I really need to simplify things as much as possible right now. Hence, this week's theme. Let's create cards with lots of white space and not much fuss. Let the image do all the talking!


HOW TO PLAY: Create a clean and simple card. This means plenty of white space and a nice streamlined card without a lot of elements to draw your eye away from the image.

On to my creation...

Power Poppy has such wonderful images with fabulous details that it's really easy to pick one for a CAS card. Since I have winter and Christmas on the brain  I decided to ink up the set Let Your Heart Be Light. I am drawn to images that have an old fashioned feel to them and this set definitely has that feel. My grandmother was a retired florist and she used to have the most beautiful Christmas centerpieces on the kitchen table and this set makes me think of those.


To start, I die cut my white base so I would have some pretty edging around my image. After getting the 2 pieces arranged to where I wanted them (the top and bottom image panels) I stamped them in black and then used my copic markers to color in the image. For a little extra pop, I used metallic gel pens on the leaves and berries. I then adhered the white image panel to a cherry-colored card base and voila, easy peasy clean and simple card! It took me less than 15 mins from start to finish!


Want to join me this week? Simply create, post and then link up using the linky below! As we always say, if you get those fingers inky and play along, each and every link is an opportunity to win a $25 gift code to the Power Poppy Shop! 

Until next time!
Lisa 


You are invited to the Inlinkz link party!
Click here to enter

Creative Confetti: Make a Wish!


Hello everyone! Happy Tuesday and welcome to a brand new Creative Confetti! This week we're all about wishes...as in, what do you wish you had growing in your garden that you currently don't? Maybe it's a tropical flower that won't survive in a colder climate, perhaps it's a flower that's considered invasive in your area or maybe it's just something you haven't gotten around to planting yet! Whatever it is, create a project highlighting that flower.


How to Play: Create a project that features a flower or plant that you wish you had growing in your garden!

On to my creation.....

When I first discovered Power Poppy I fell in love with the digital stamp set Bubbles and Fizz. It features an image of Golden Wattle, which I had never heard of before. It's a tree that is native to Australia (and is also their national floral emblem) and it produces the prettiest yellow flowers. I think the flowers look like little pom poms, they are so fun to look at and are just such a happy flower! I would love to line my property with these trees just so I could see those happy yellow flowers all summer!


To start my card I printed out the image from Bubbles and Fizz, resized it to what I wanted for the front of my card and then used my Copics to color it.


After getting the image colored in I decided it looked a little plain to me so I used my B01 and B000 to color in around the image. After doing that I took a white gel pen and added some white dots along the outlines of the leaves just for a little more visual appeal.

When I showed my husband the card he asked me what the flowers were and I told him, and he asked if we could get some for our yard. I wish dear, I wish!


Okay friends, now it's your turn! Let's see the flowers you wish you had in your gardens! If you have Power Poppy stamps, please use them! If not, remember each entry will be one more chance at winning a $25 gift code to the Power Poppy Shop! (That means you might be able to WIN some!)

Have fun!!

~Lisa 


You are invited to the Inlinkz link party!
Click here to enter

Creative Confetti: Spring Blooms

Hello friends, and Happy Tuesday! As people continue to stay put and quarantine I hope everyone is doing well and are able to do things they love, like creating!

If you are on Instagram you may have seen the pictures that our fearless leader Marcella has been posting. My yard is still covered with over a foot of snow so I am just amazed to see all the green and wonderfully bright colors that are popping up in her gardens, it truly is a feast for the eyes! Marcy's garden photos are what inspired the colors for this challenge....a warm yellow, soft blue and a bright green.


HOW TO PLAY: It's nice and easy, just create a project using the colors in the graphic! You can use images of flowers that are spring bloomers or you can create a Christmas card with these colors, it's entirely up to you and your imagination!

On to my Creation!

I really enjoy the color yellow so I wanted to make that the main color of my image. I decided to go with the digital image Bees in Foxglove. This fabulous digital stamp is only $1.99 in the shop right now!!


I used Copic markers to color my image and my sentiment is from the clear set Natural Beauties. I just love foxglove in yellow, I usually see it in pink hues.


It's your turn to use these colors on your project! Share your creations by linking them up below. Every single entry will be in the running for a $25 gift card to the Power Poppy Shop!

Be safe, be well, and have some fun with this challenge!

Lisa

You are invited to the Inlinkz link party!
Click here to enter